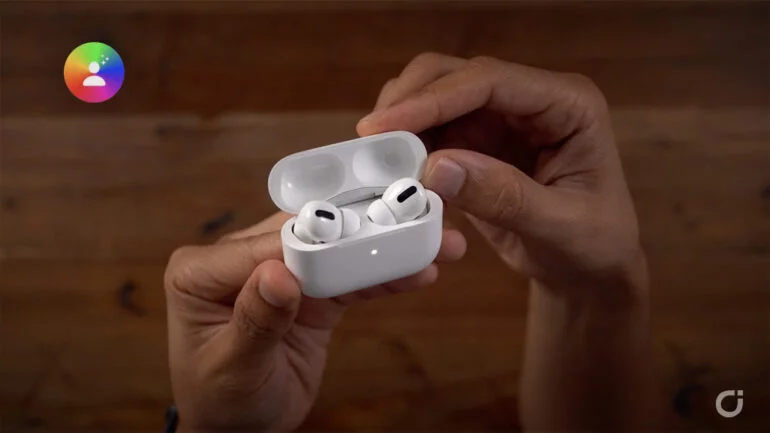
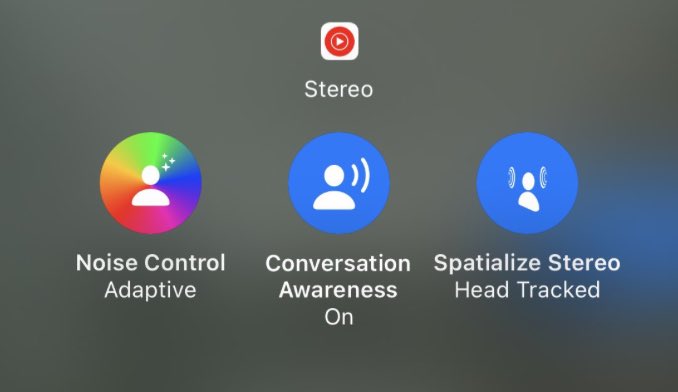
During the WWDC23 keynote, Apple announced a new feature for the AirPods Pro 2 called Adaptive Audio. Basically, it is a mode that intelligently alternates between both the sound isolation mode and the transparency mode.
Depending on the case, the AirPods will understand when they have to completely eliminate the surrounding noises to immerse us in the music and when instead they have to make us listen to what is happening around us such as the sound of a clackson, the voice of a person speaking in our direction and so on.
Unfortunately, this feature is only reserved for the AirPods Pro 2 and no other models, not even the AirPods Max. In this article, we explain how to try this feature, which is also in beta, since it is not automatically installed with the transition to iOS 17.
Guide: How to install the new beta firmware in AirPods Pro 2
Normally a developer account is required to do this but, fortunately, Apple has made the account upgrade completely free and so now any “simple” user can update the Apple ID with developer privileges.
Important Note: Once you’ve updated your headphones, you won’t be able to “go back”, so if something doesn’t work properly you won’t be able to restore the firmware that wasn’t bugging you. For this reason, the update may not be recommended, but if you really can’t resist, then here’s how you should go about it.
Follow these steps, one after the other:
1. First, you need to activate developer mode on your iPhone updated to iOS 17 beta. Check if you can turn it on by going to Settings > Privacy & Security > Developer Mode (at the end of the list). If you can’t find it, continue to step 2. If you find it, turn it on and skip straight to step 13.
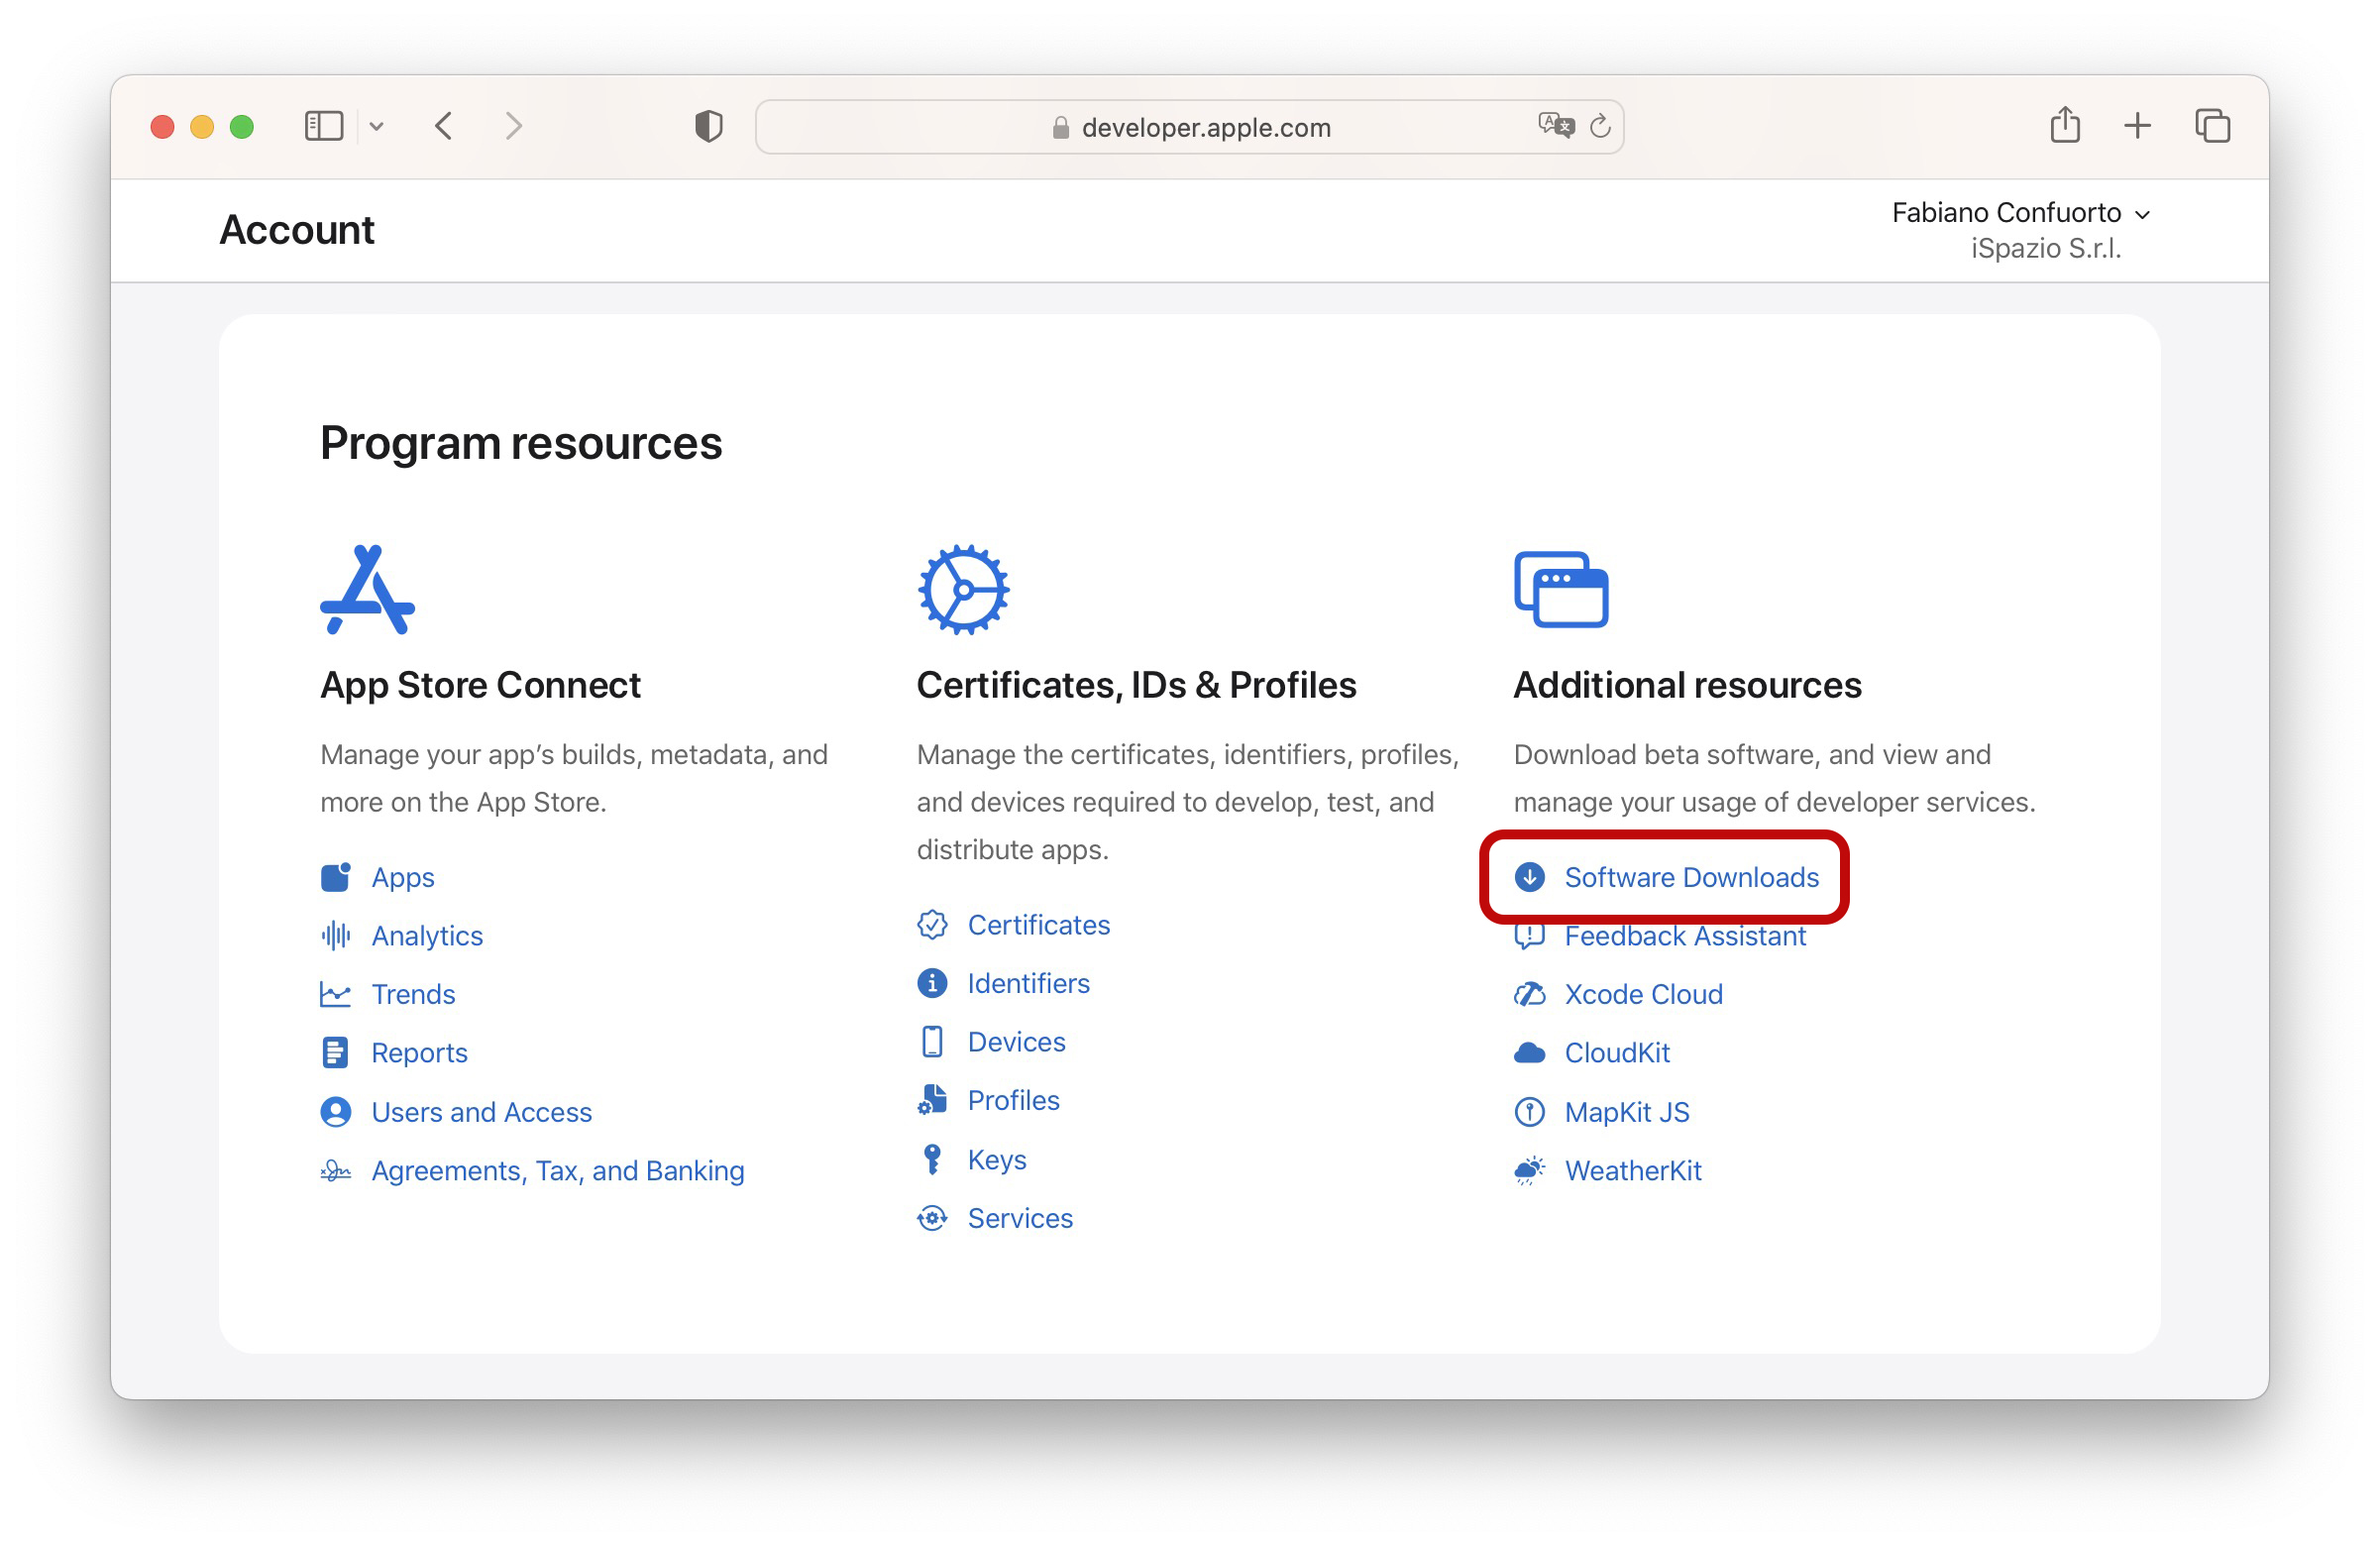
2. Log in to the Apple developer site on your Mac (Ventura 13.3 or later) and sign in with your free Apple ID.
3. In the Program Resources section, look on the right side and choose Software Download.
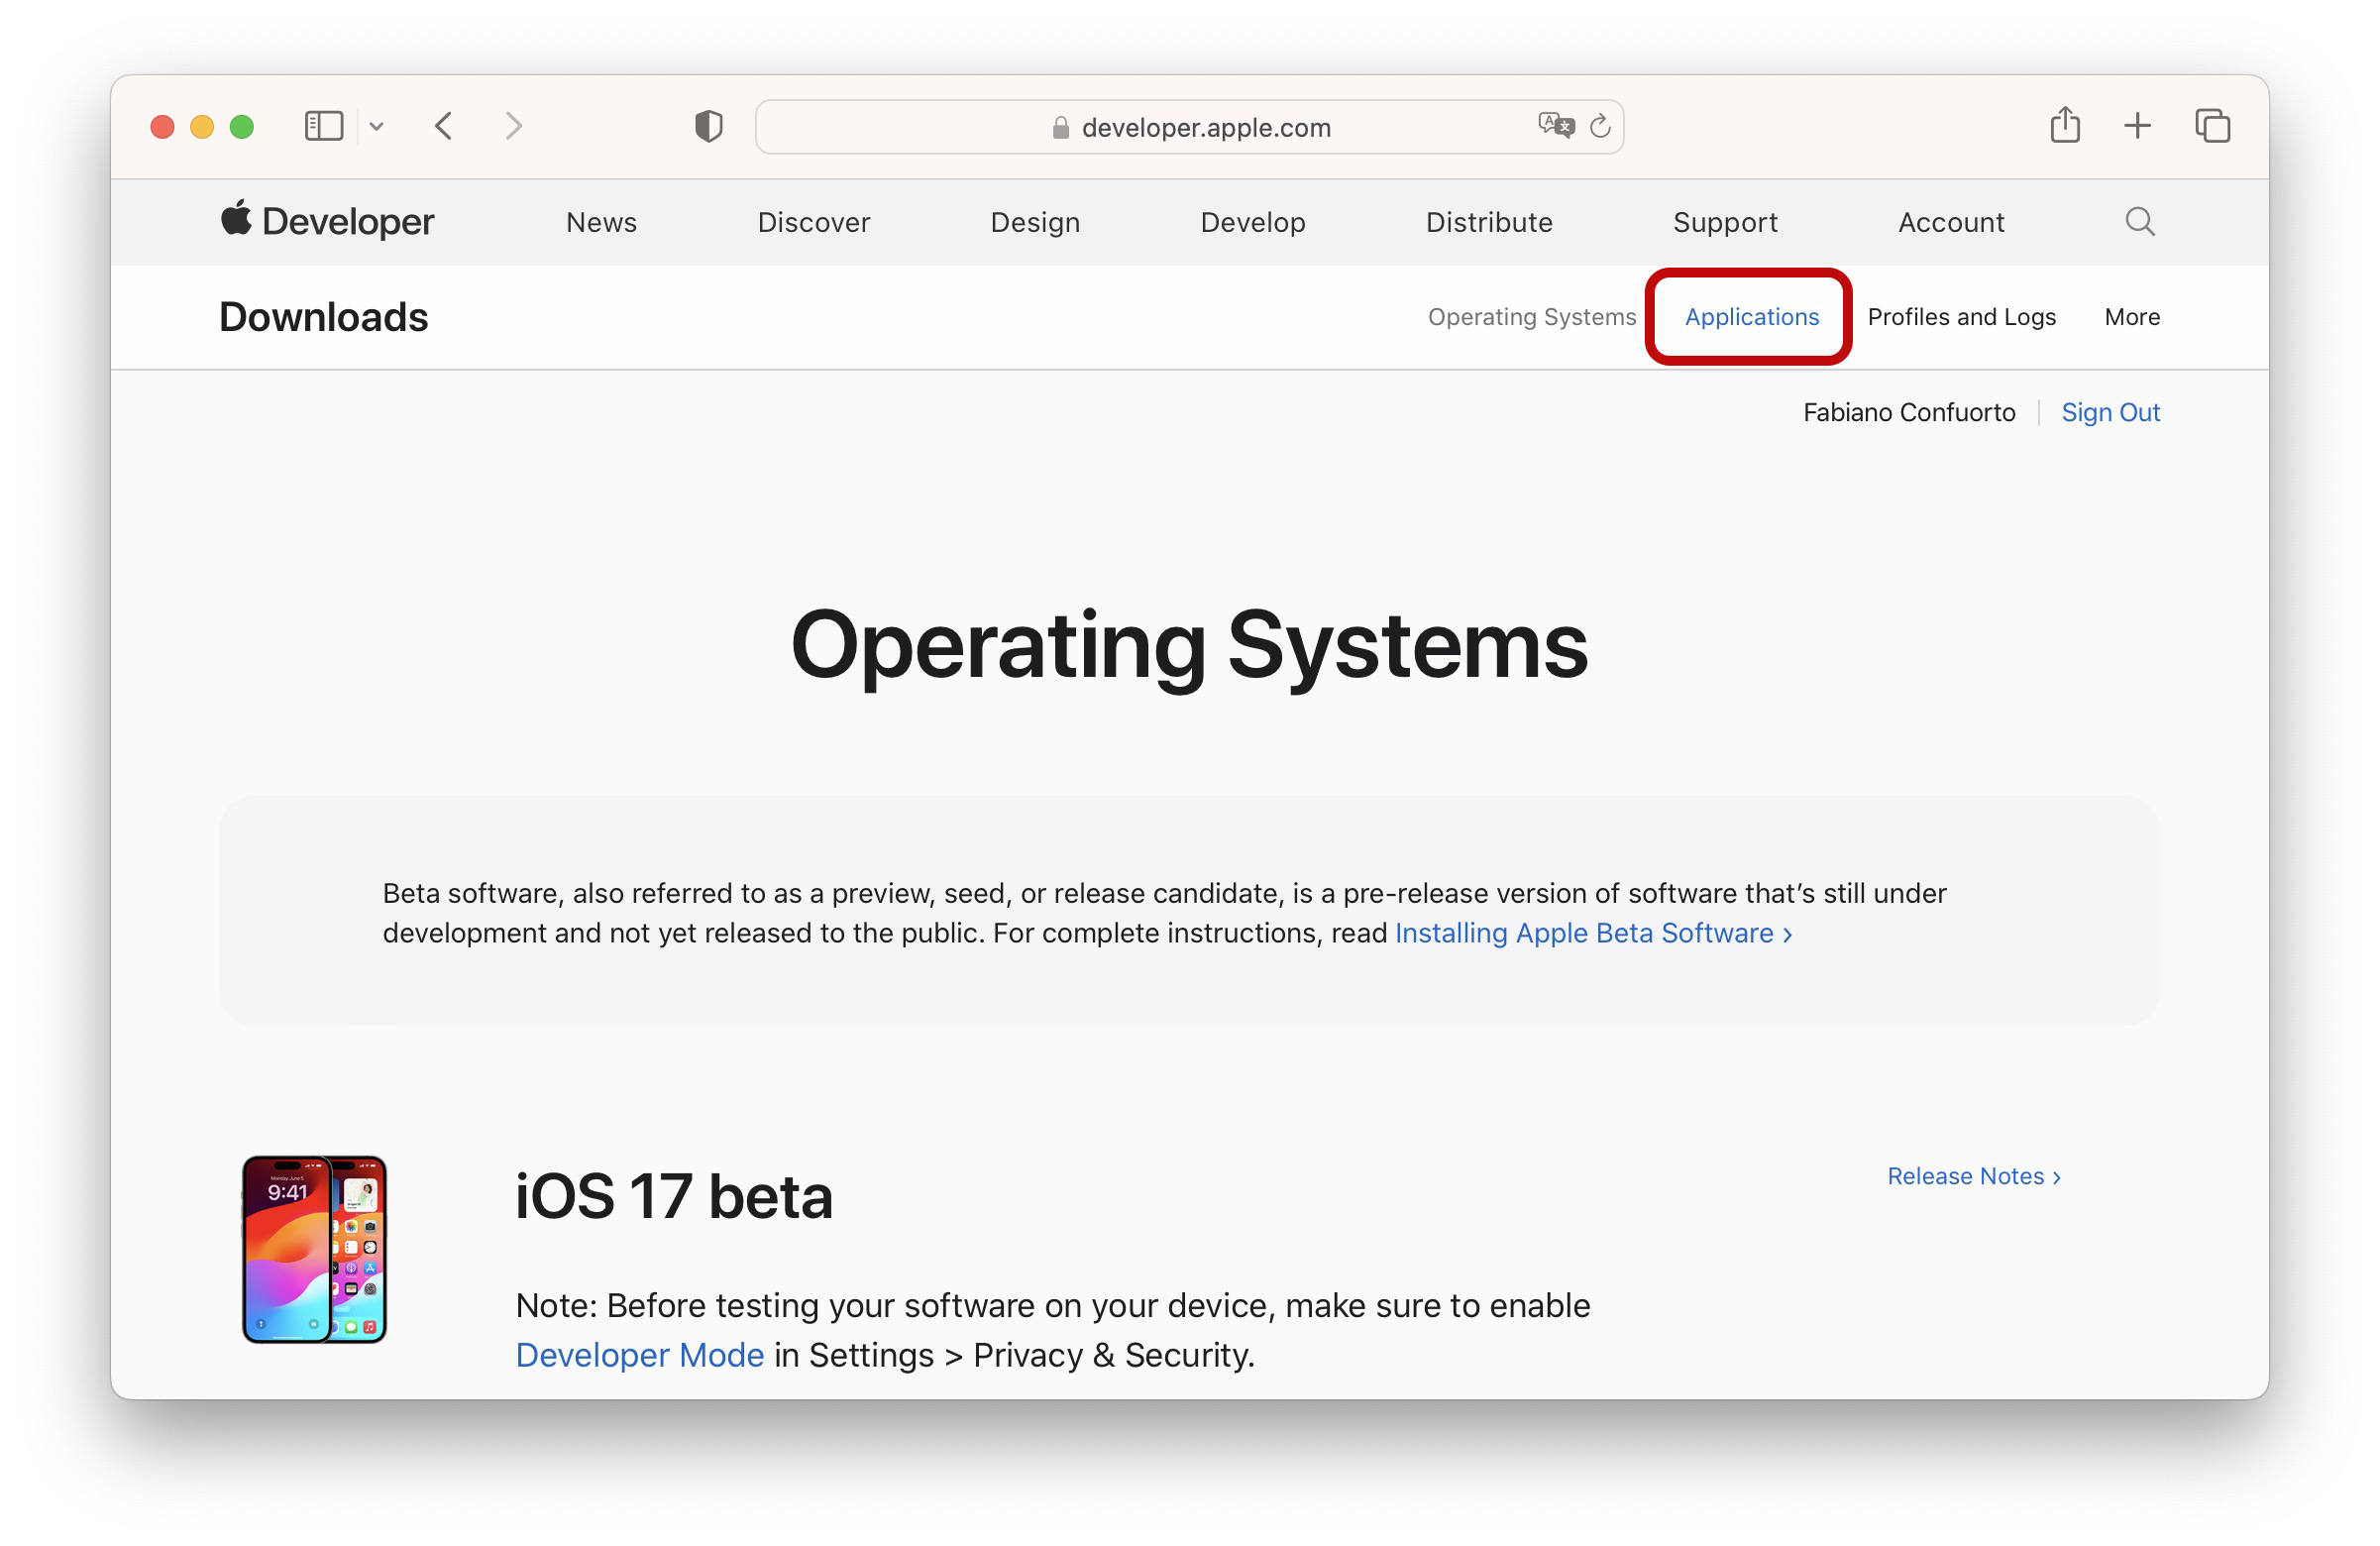
4. Now click on “Applications” in the top menu on the right
5. Locate Xcode 15 beta and click View Downloads.
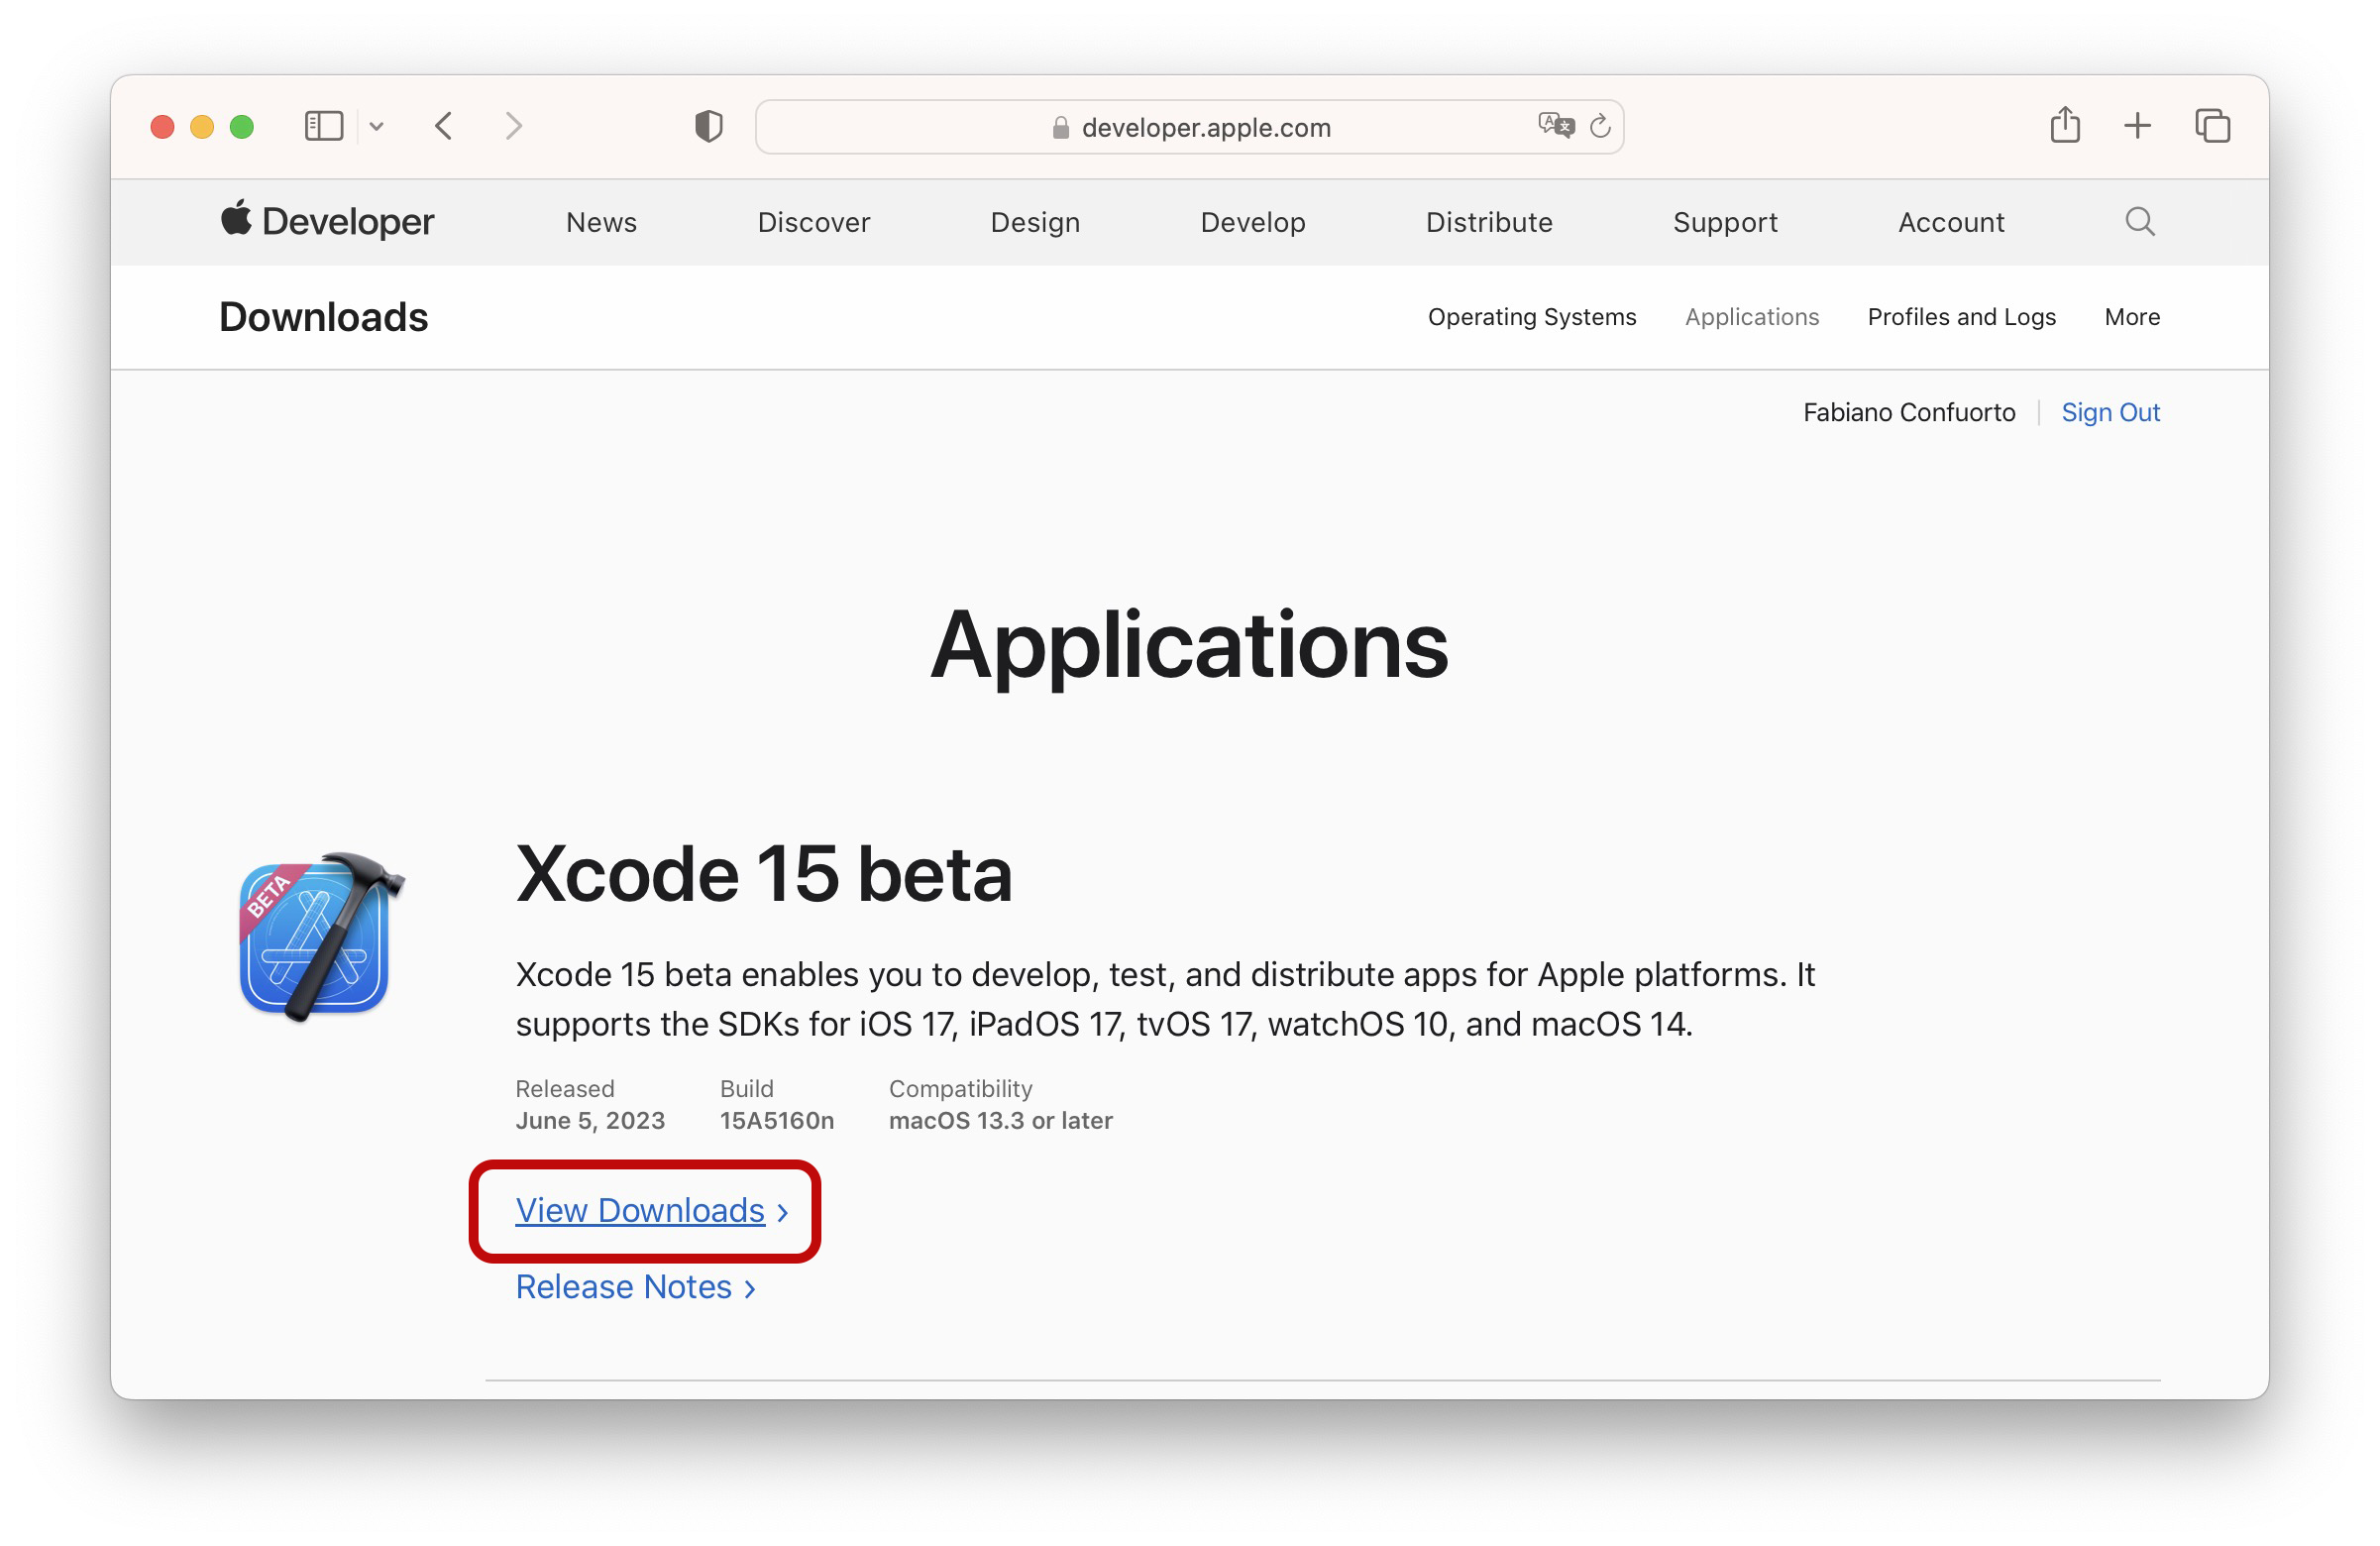
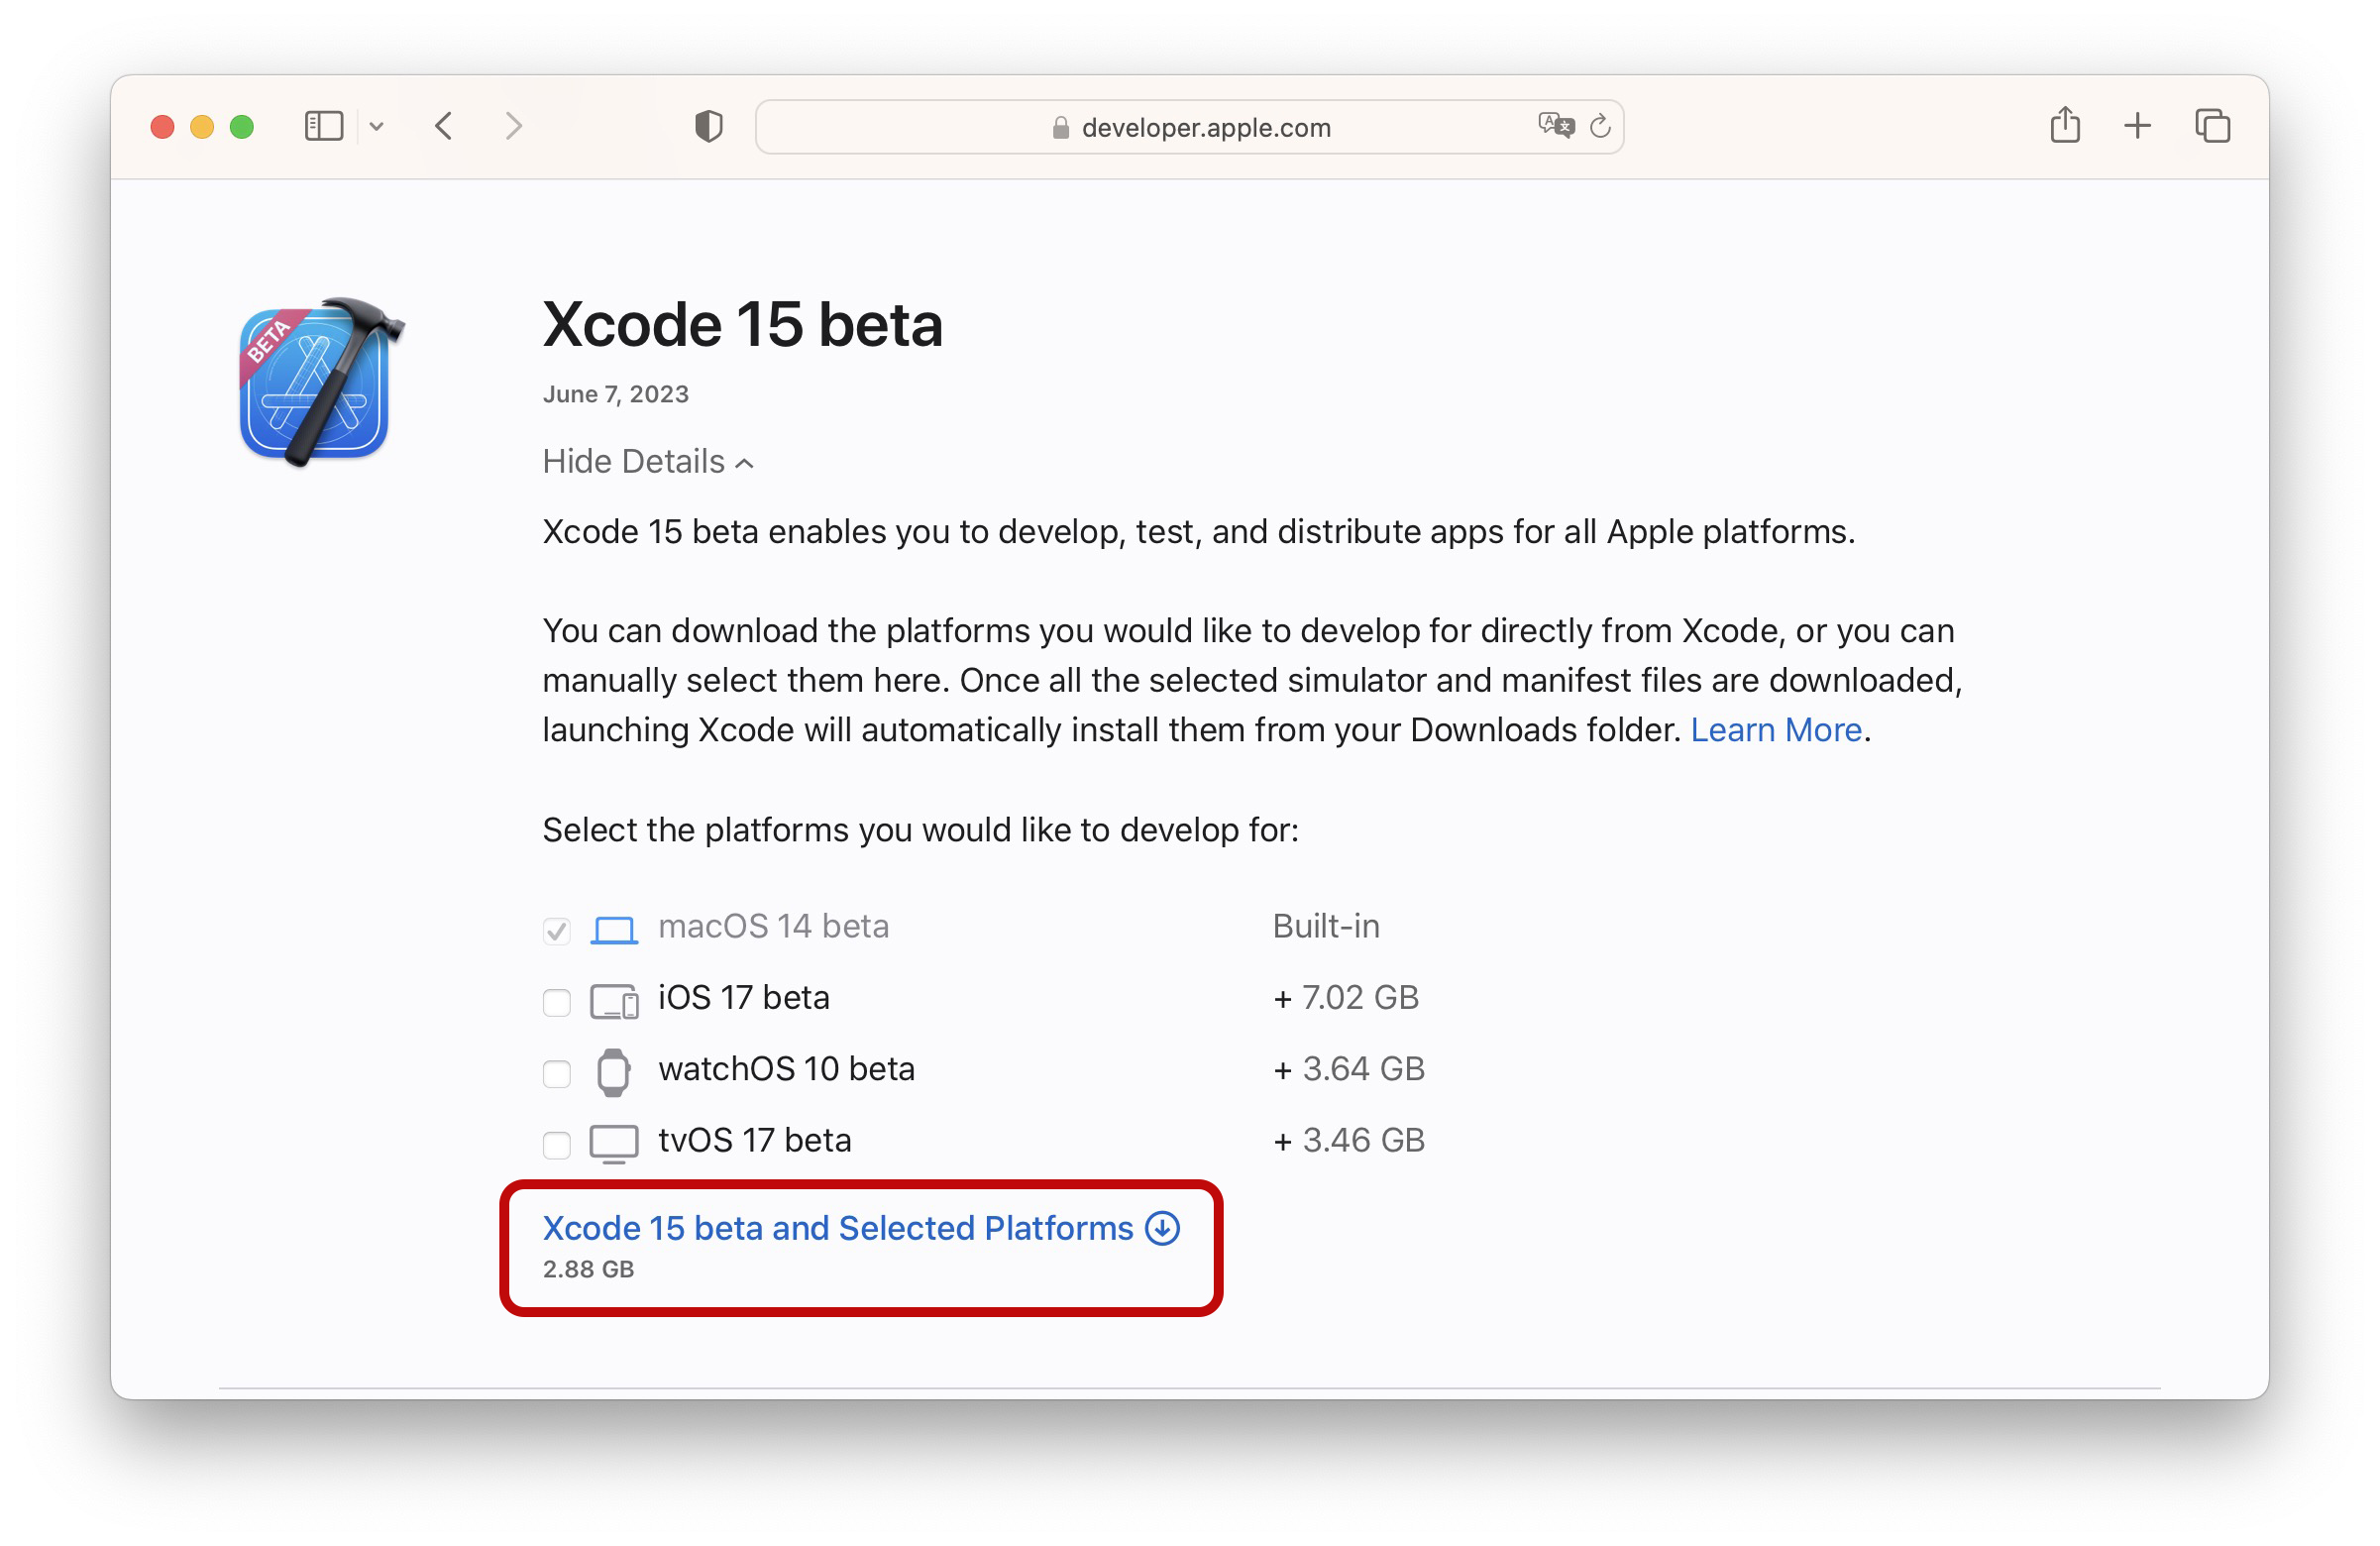
6. Another page will open with a list of possible downloads. Stop on the first one and click on “View details” to expand the menu. Uncheck iOS 17.
7. Now click on the blue button to download Xcode 15 beta and Selected Platforms.
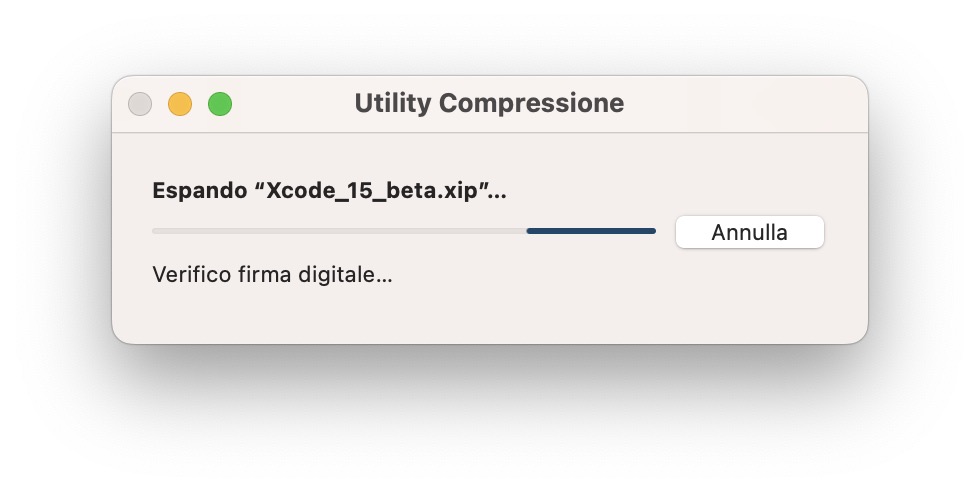
8. Unzip the Xcode_15_beta.xip file you just downloaded.
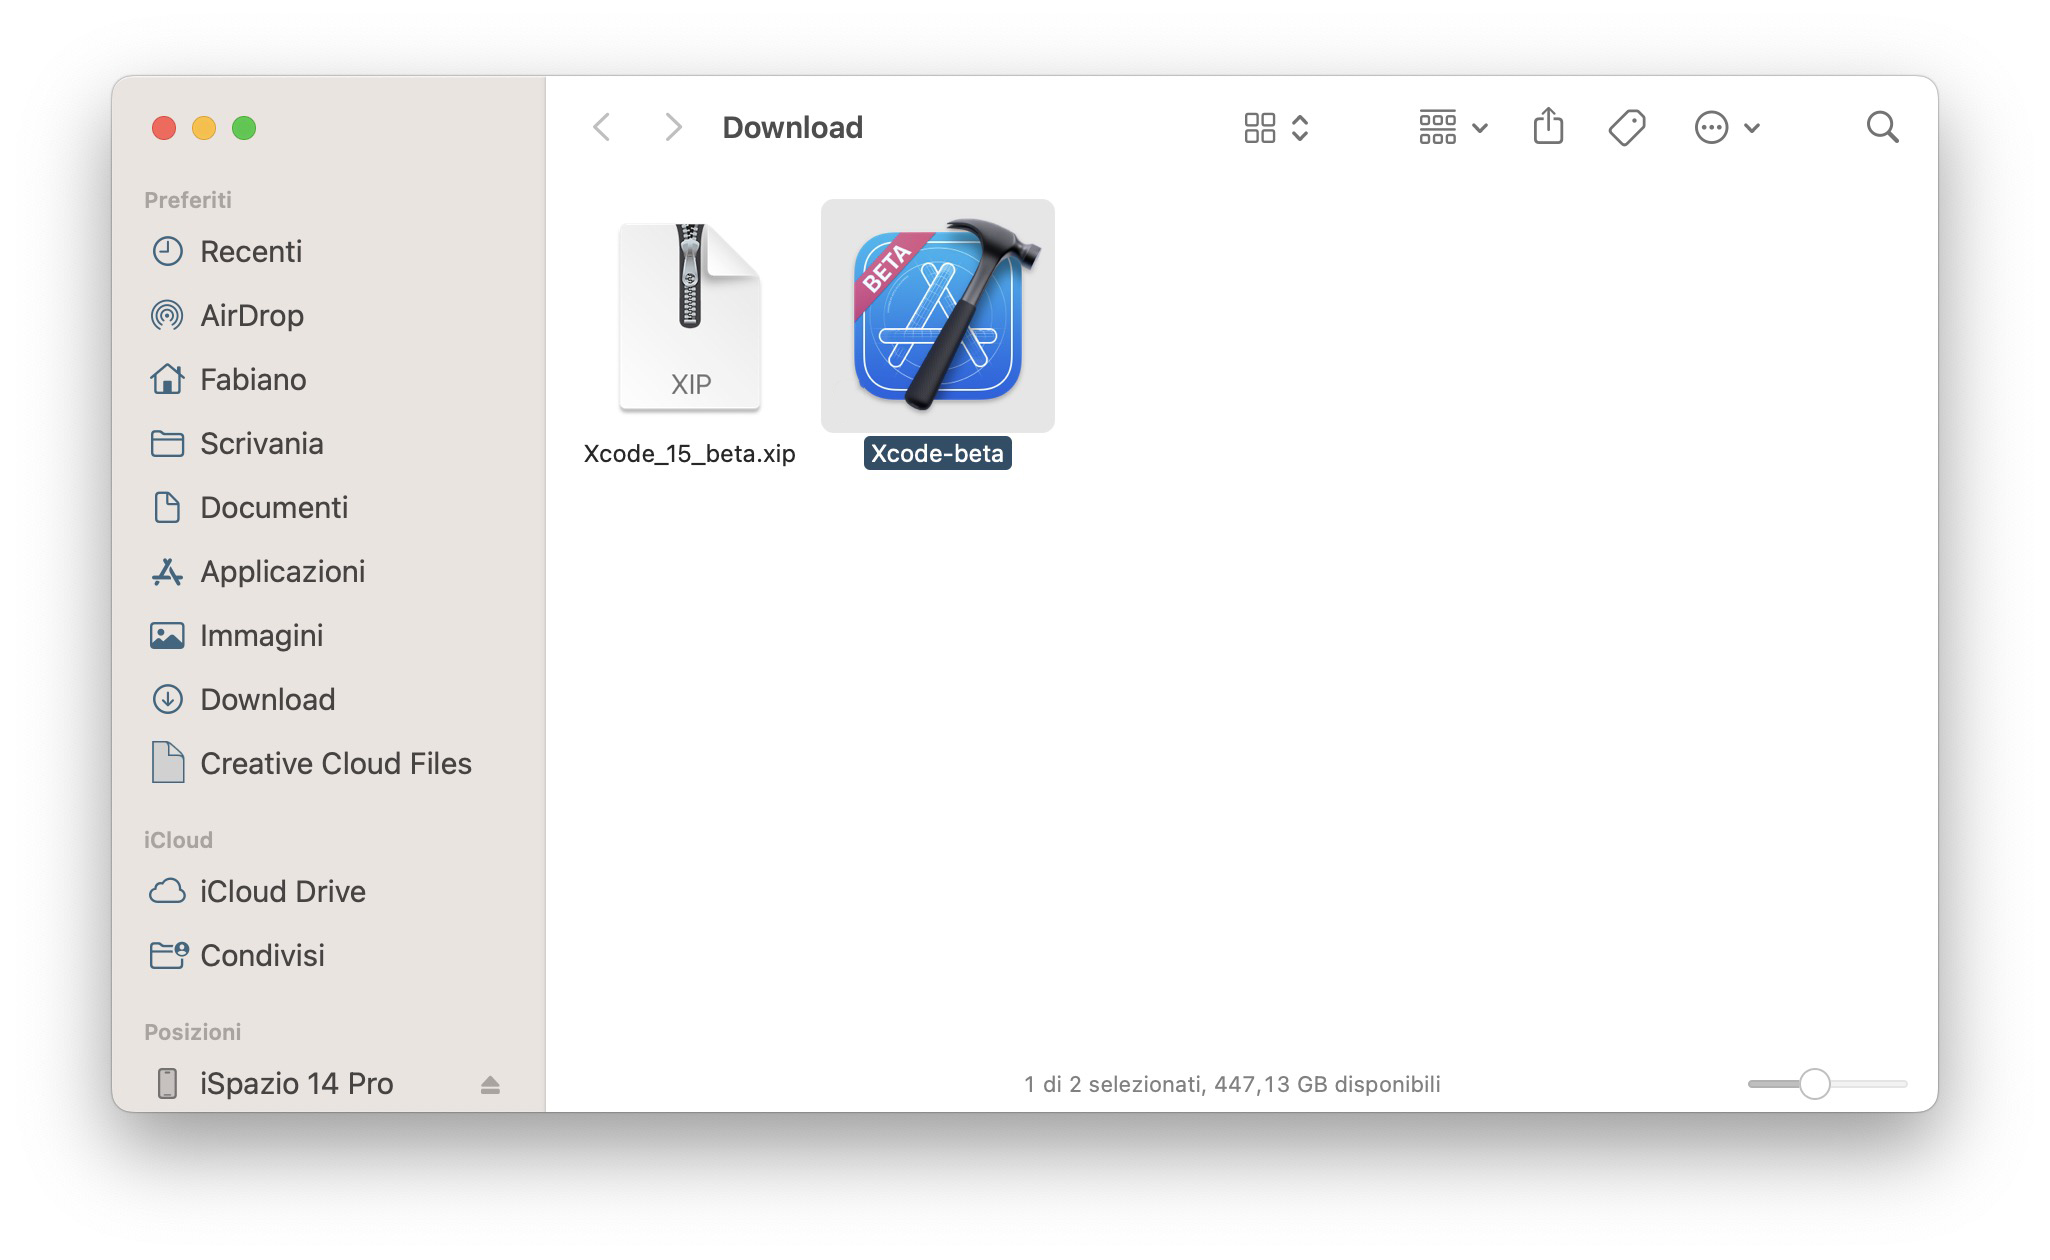
9. Open Xcode 15 beta contained in the file you just unpacked. You can also drag it to “Applications”. You shouldn’t need to download iOS 17 resources, so keep keeping iOS 17 unchecked from the popup that appears when you first open Xcode-beta.
10. Use a lightning cable to connect your iPhone to your computer. It’s important to have iOS 17 already installed on your iPhone.
11. Wait a few seconds, then take your iPhone and enter Settings.
12. Choose Privacy & Security > scroll to the bottom and you’ll find Developer Mode.
13. Turn on Developer Mode and follow the process to restart your iPhone.
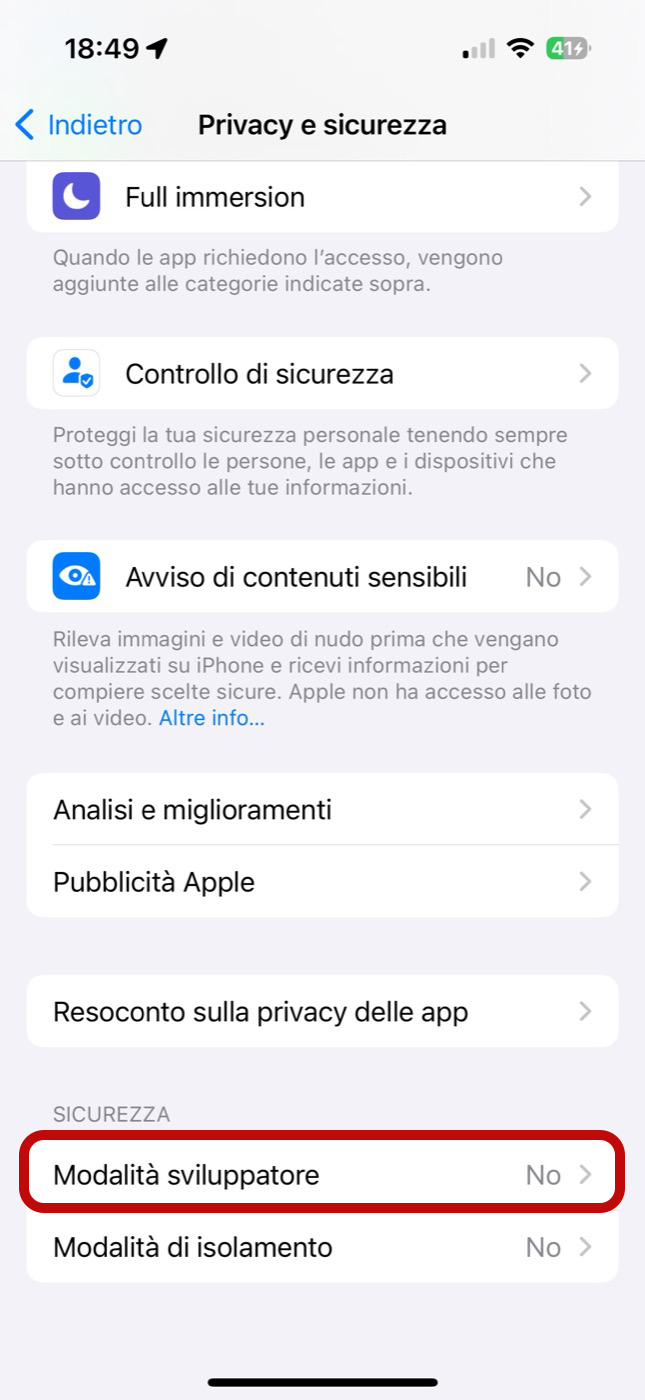
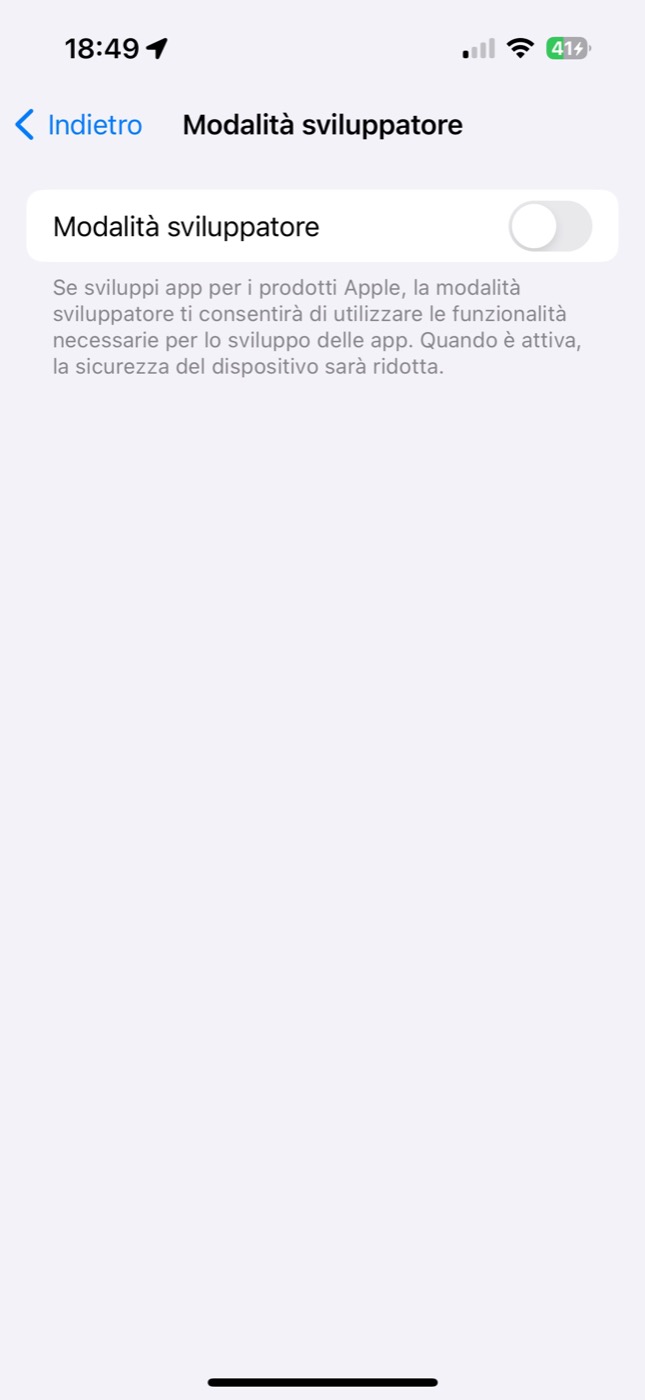
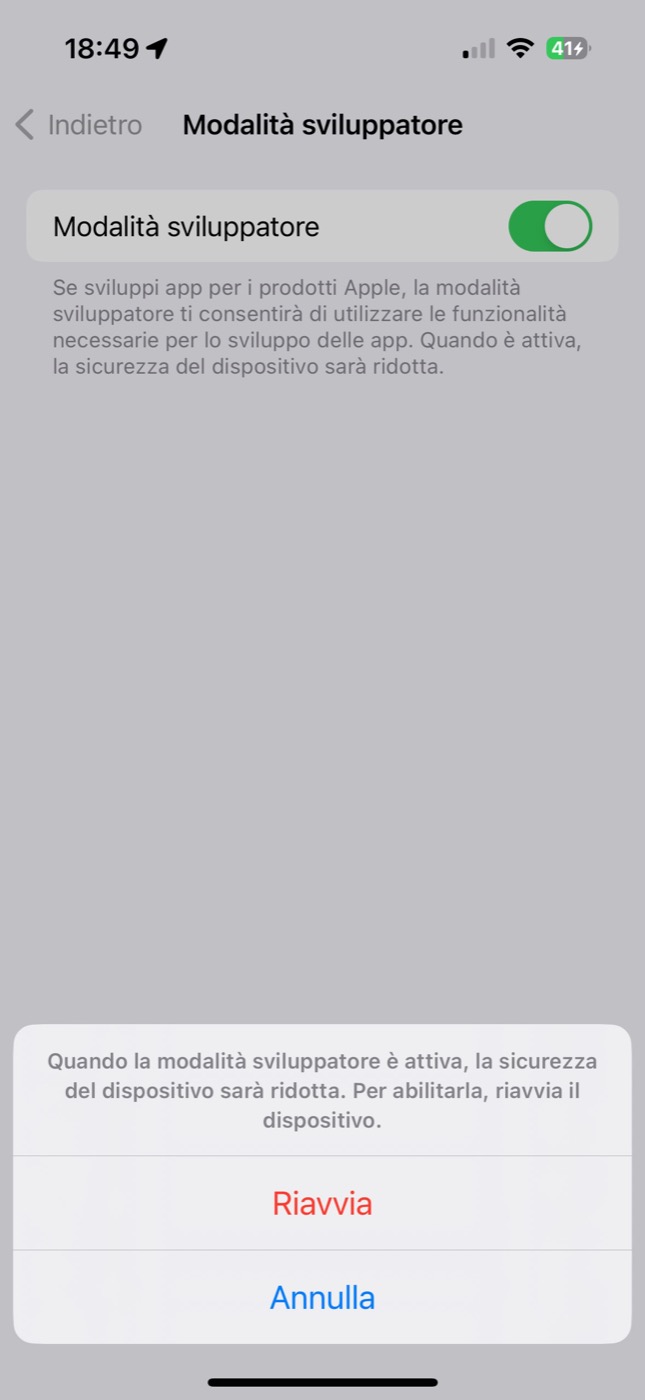
14. After restarting and unlocking the iPhone, entering Settings a popup will appear “Do you want to activate developer mode?”, of course click on Activate.
15. Go back to the settings and you will now find a new Developer tab (under TV Providers).

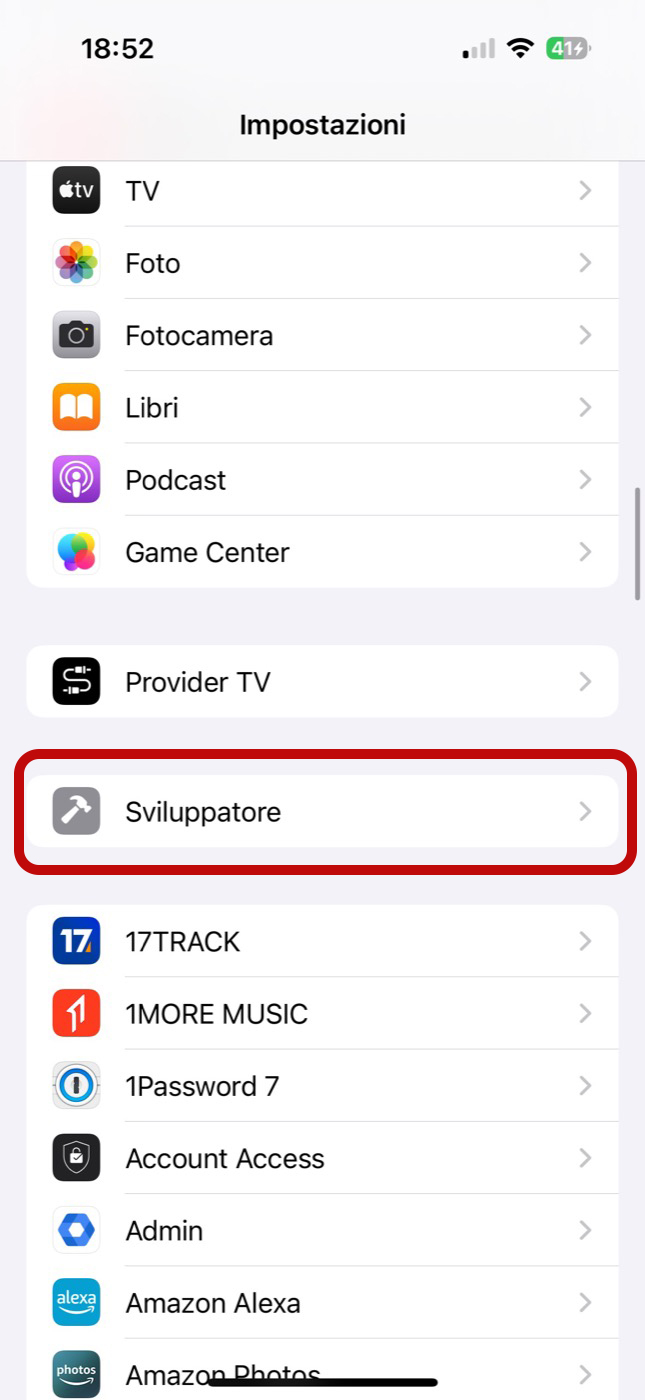
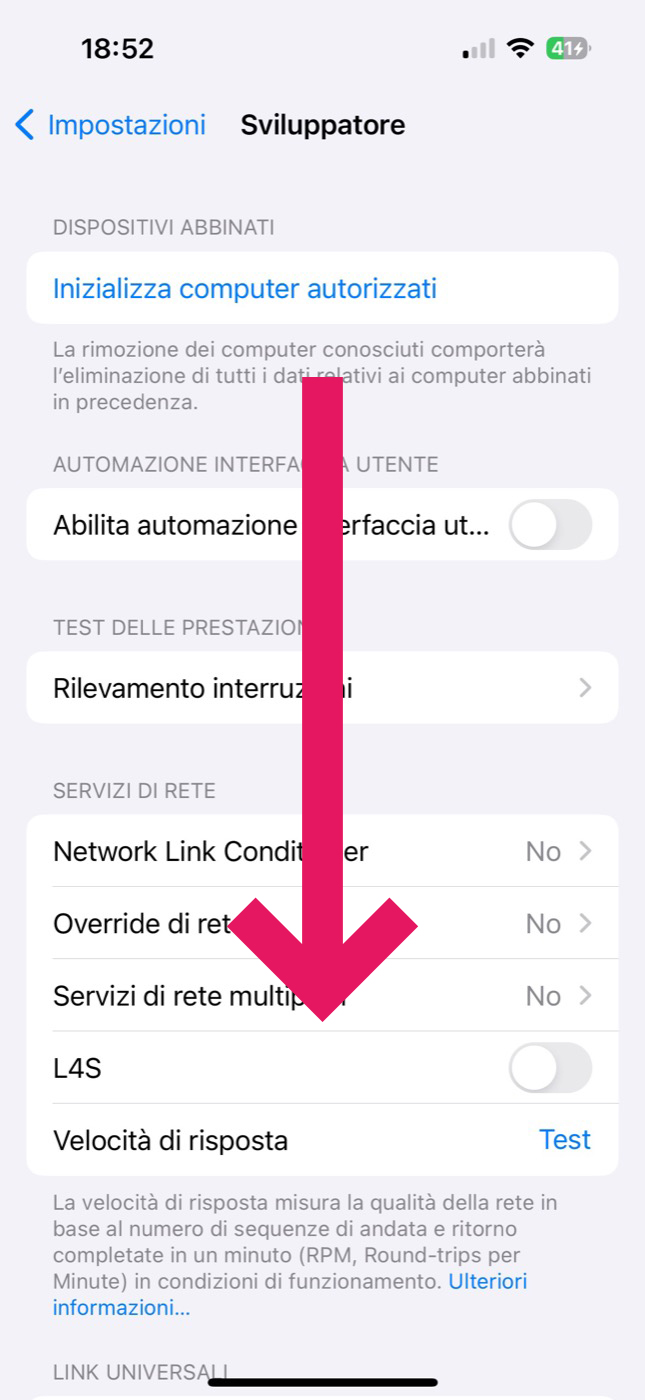
16. Choose Pre-release beta firmware (near the end of the list) and then toggle the switch on your personal AirPods Pro 2 that you want to update.
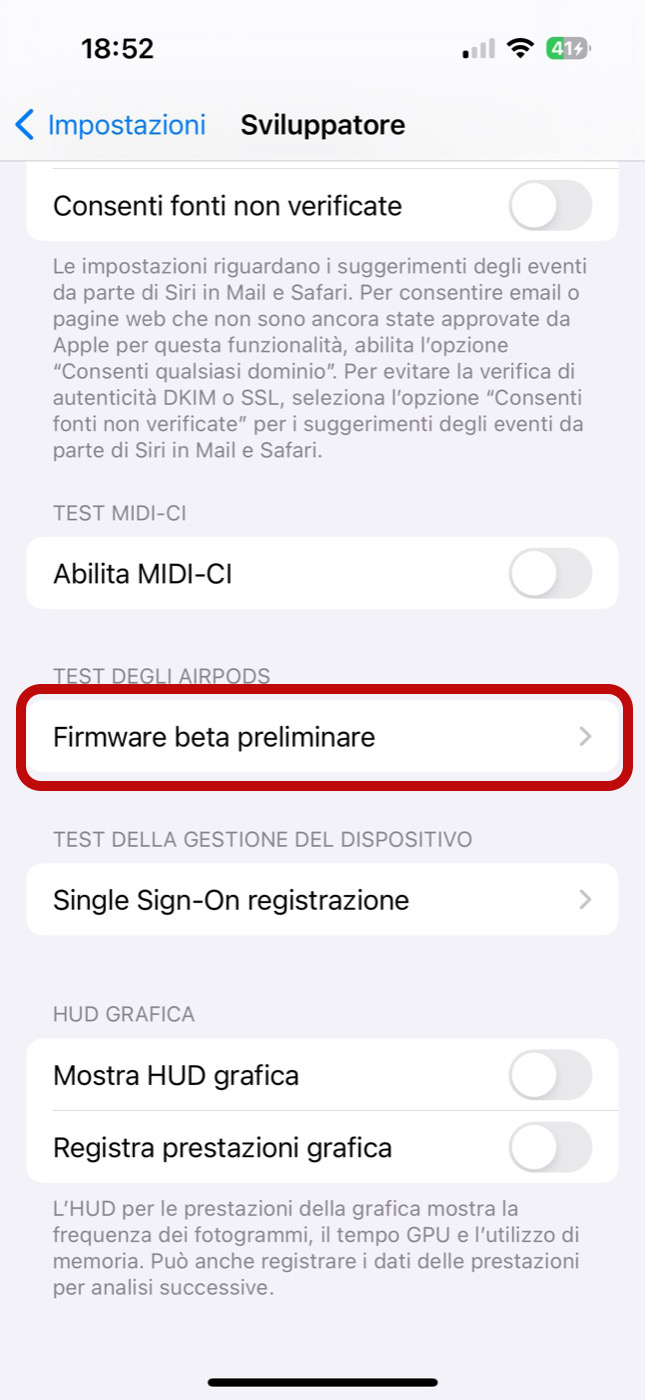
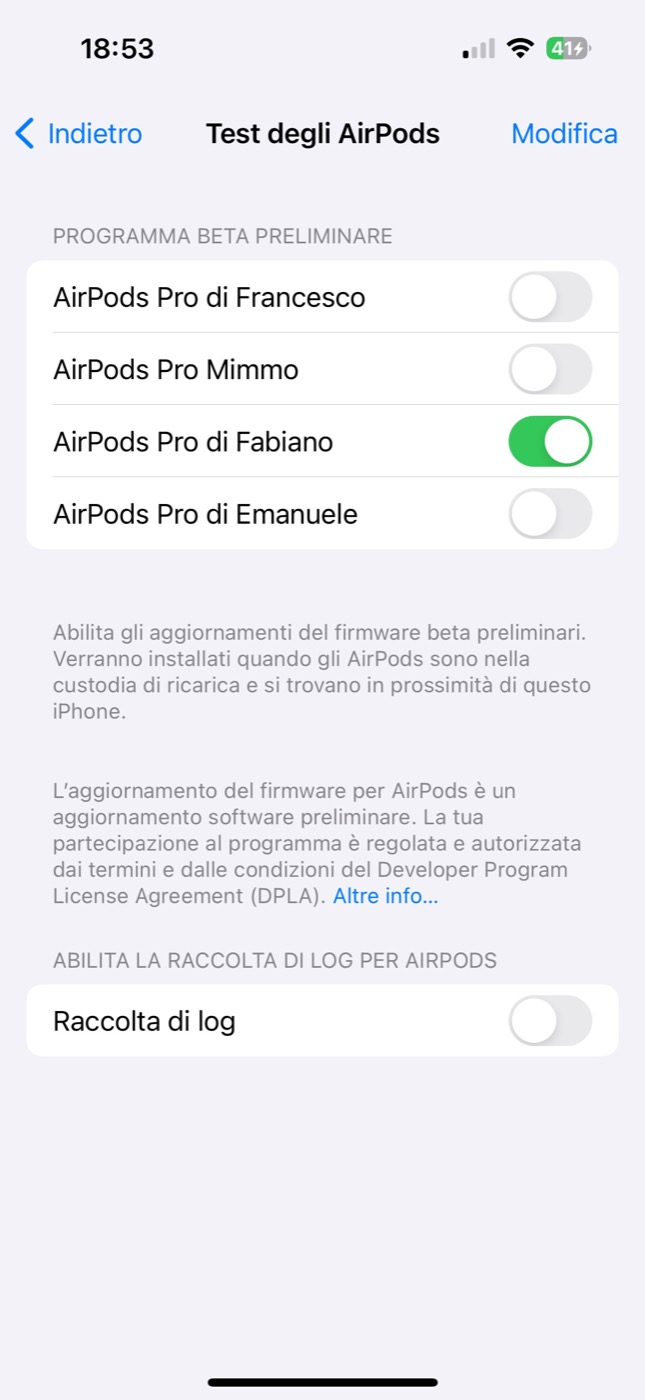
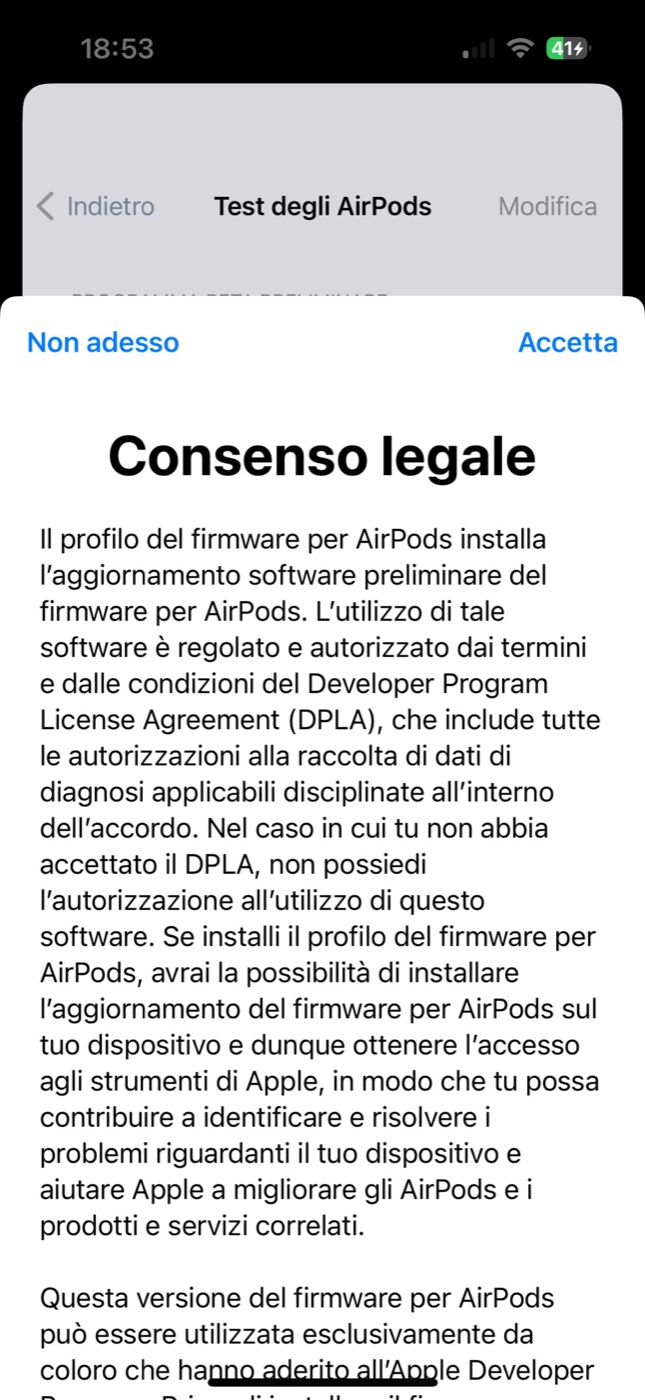
17. Apple says that “firmware updates will be installed when the AirPods are in their charging case and close to this iPhone.”
18. Unfortunately, you can’t force the AirPods beta update to install, but you can check when it will be installed automatically by going to Bluetooth and clicking the (i) next to your AirPods.
You’ll know you have beta when the AirPods Pro 2 go from version 5E135 to version 6A238h (it usually takes about 30 minutes to install automatically).
