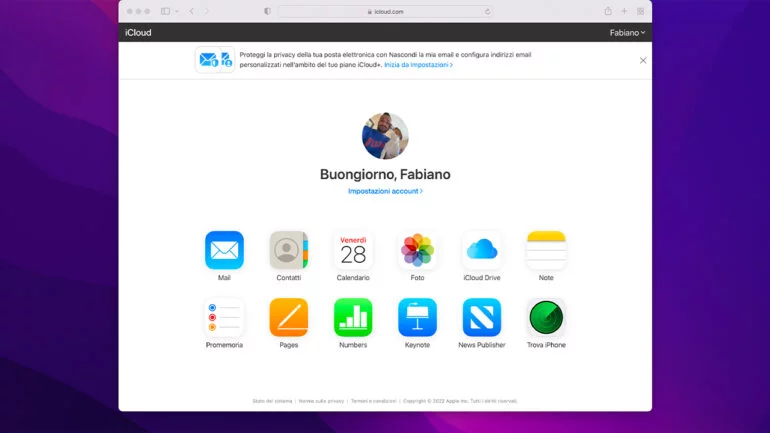
During the presentation of iCloud+, Apple hinted at the possibility of using iCloud Mail to manage email from its domains or to create new custom email addresses.
With iOS 15.4 beta 1 the feature has finally been activated and in this article we explain how it works.
Let’s say we have a website and therefore we have registered a domain that we own. To exemplify, in order to make the understanding of the article as easy as possible, I am the owner of the ispazio.net domain but also of scontiamolo.com, wallpaperscentral.com and other sites.
Apple’s novelty allows any holder of an iCloud+ account (which is obtained by paying a minimum of €0.99 per month) to create personalized email addresses, for example:
- fabiano@scontiamolo.com
- admin@ispazio.net
- or rocco.zaccaro@wallpaperscentral.com
In short, you will be free to choose the first part of the email by setting your name, a nickname or some useful word for the purpose of managing the site itself. The second part of the email, the one after the @ sign, will be your domain (your website).
Guide: How to Set Up a Custom Email Domain with iCloud Mail
To create a custom email with your domain through iCloud Mail, you first need an iCloud Mail. If you have already created it in the past you can skip Step 1, otherwise follow the procedure from the beginning:
1. Open the Settings app, click on your name at the top of the list, and then click on iCloud. Now tap on iCloud Mail and turn on the switch. A popup will invite you to create your @icloud.com email address. Click on the Create button to confirm and then choose your email address such as nome.cognome@icloud.com.
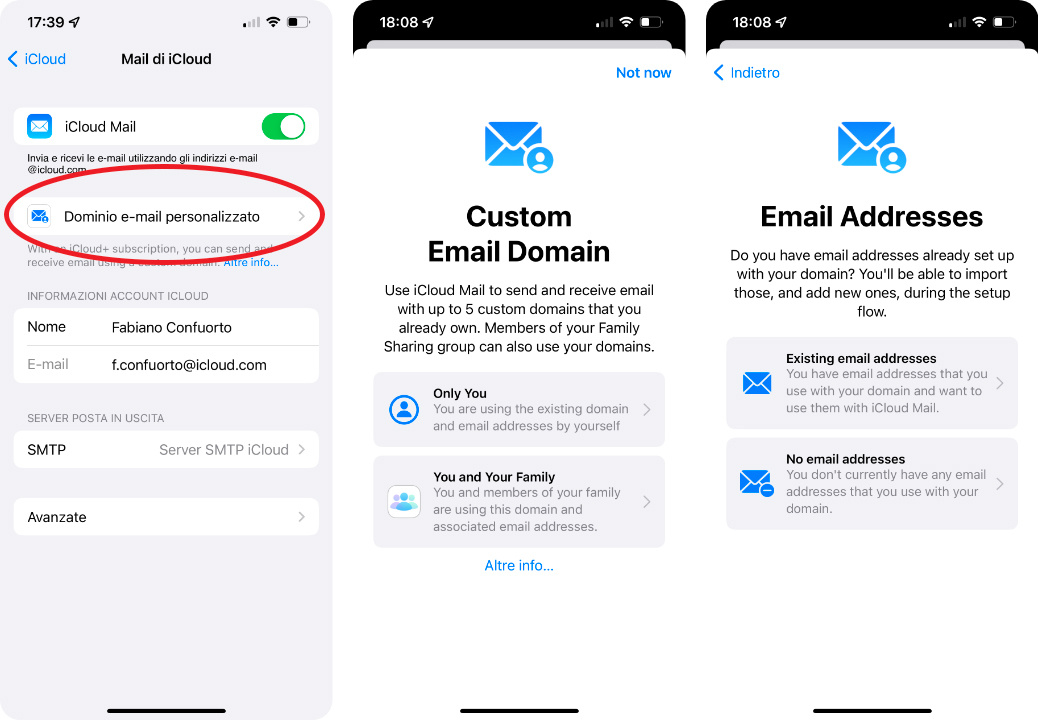
2. After creating your iCloud email, we can create the various personalized emails that end with our website domain. Also from Settings > Your iCloud > account > iCloud Mail > click on “Custom email domain”.
A screen will open. If it appears in English, choose “Only You” otherwise choose “Private“. The next screen will ask you if you already have some custom email addresses with your domain. If yes, click on the first entry and import them, if not, click on “No email addresses”
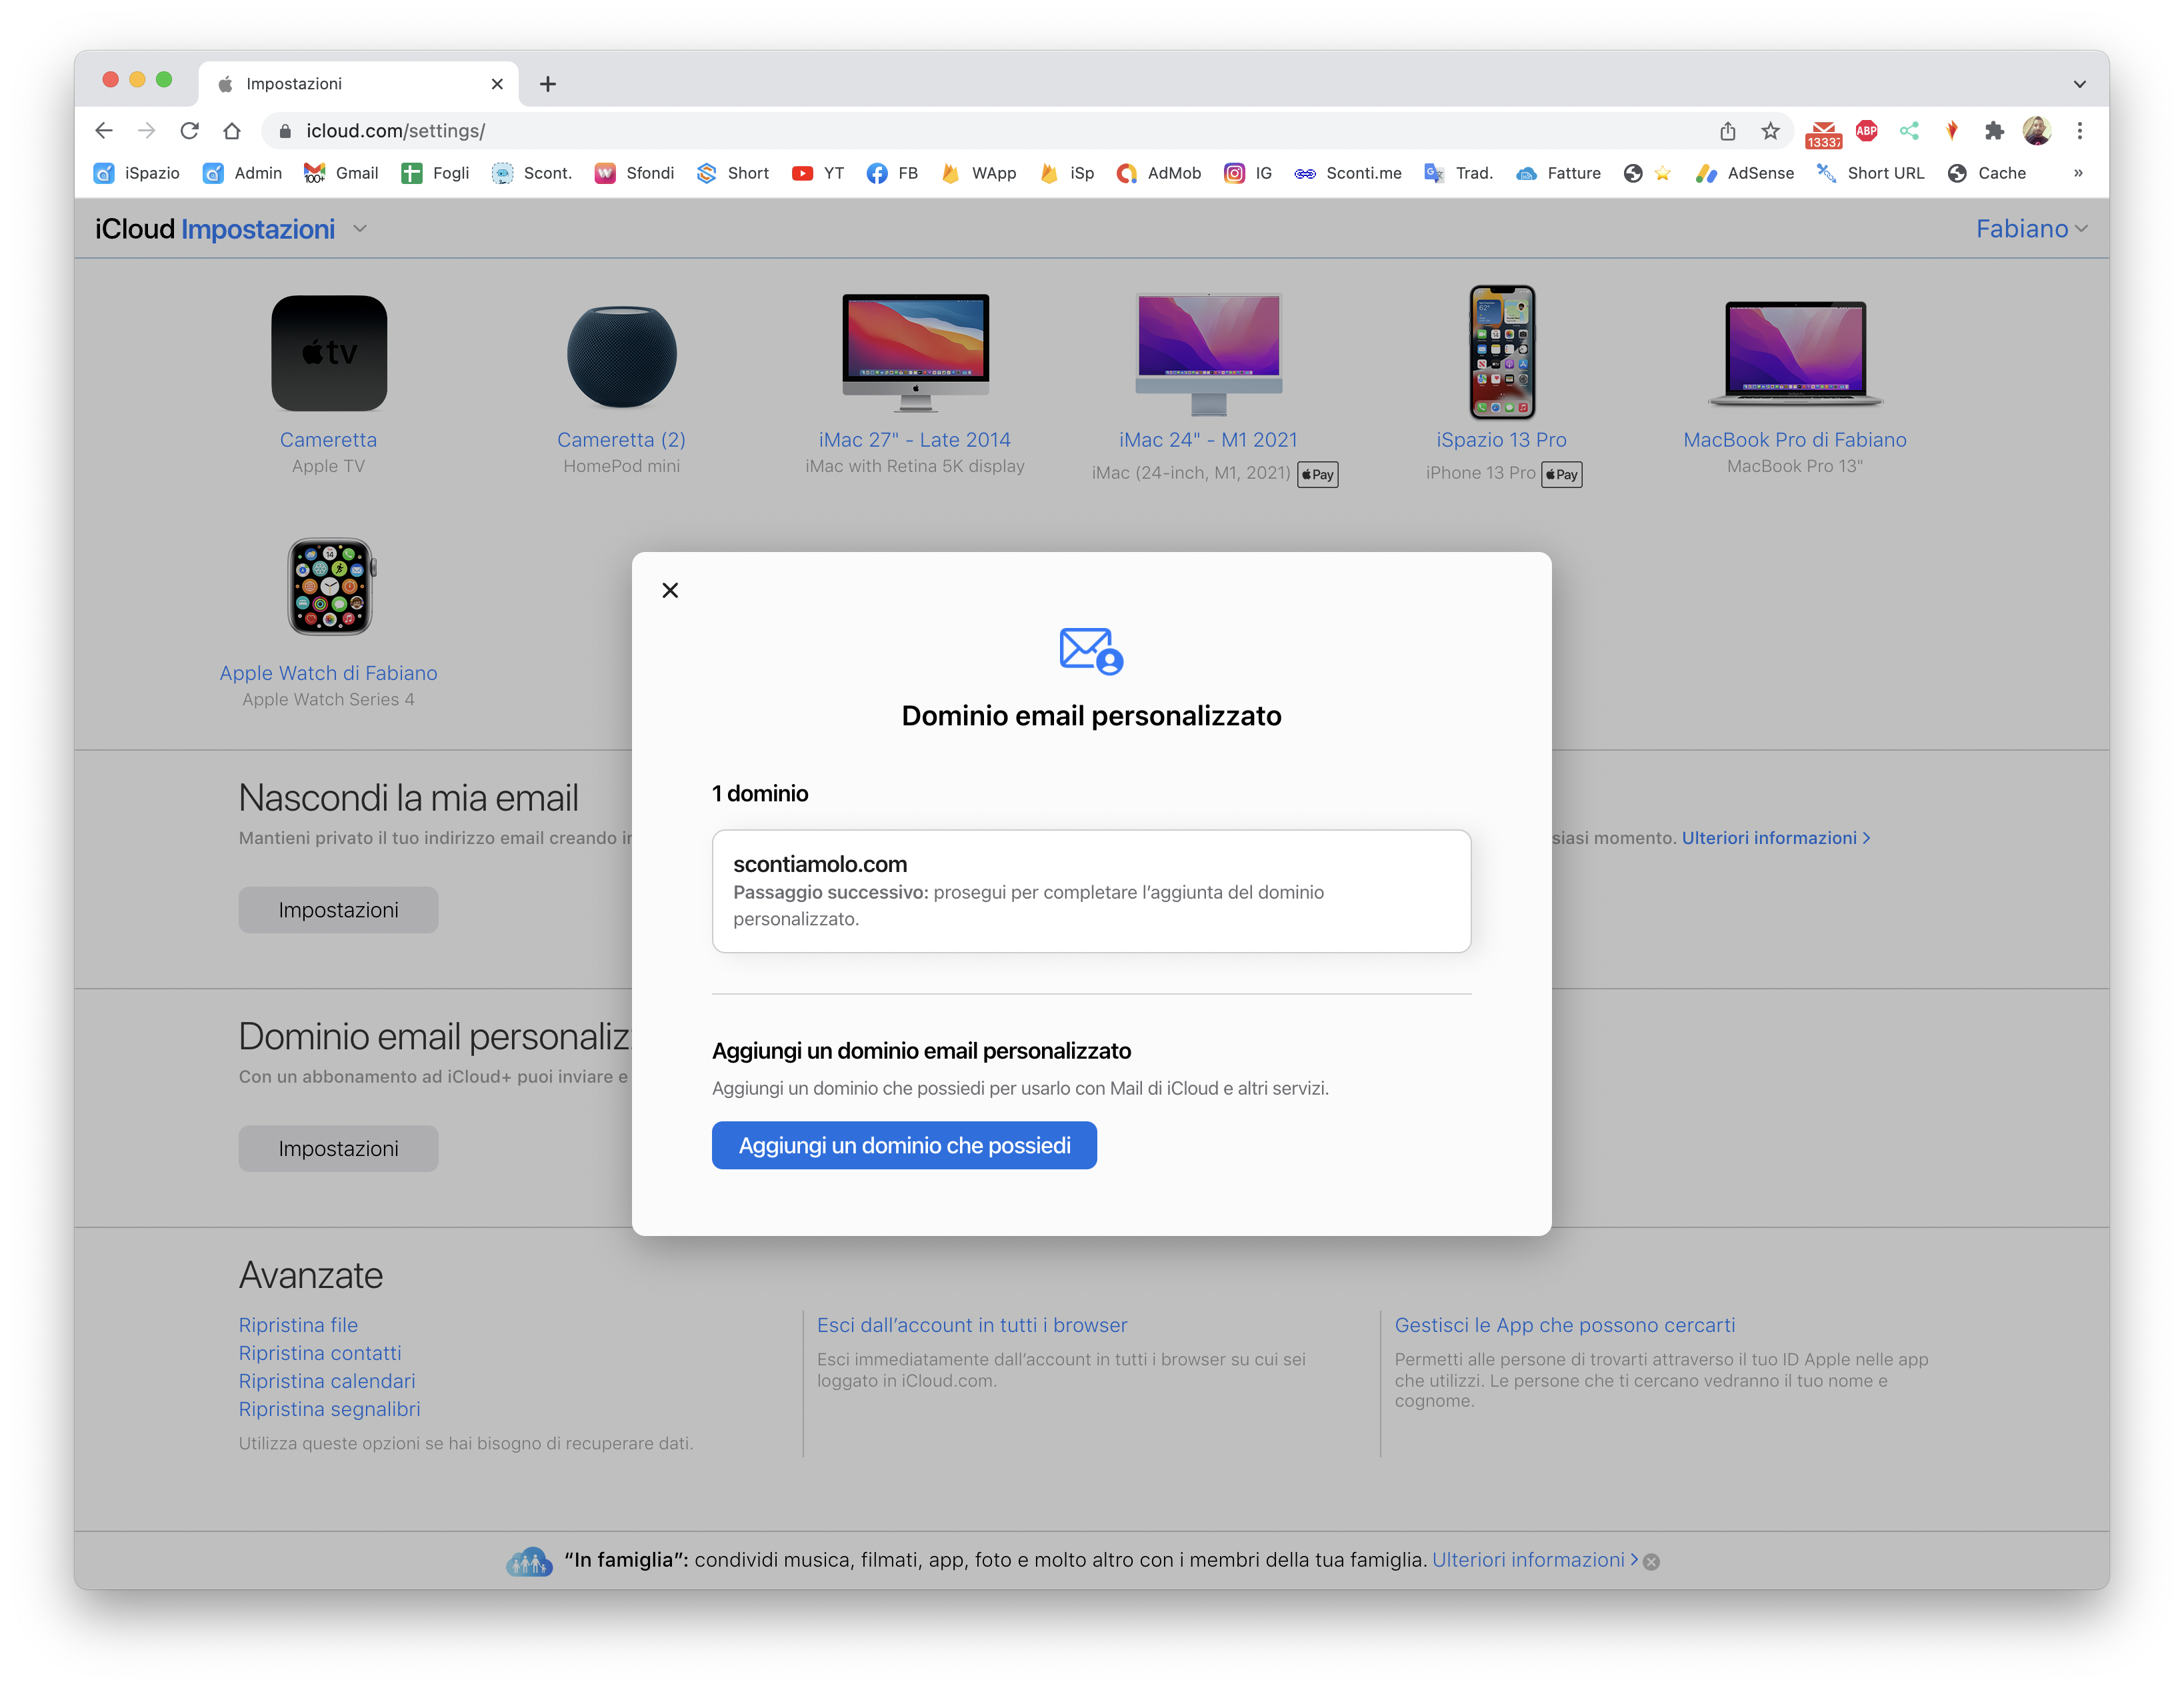
Note: This section can also be accessed from your computer. Just enter the website iCloud.com in the Settings section and then click on Custom Email Domain:
3. Finally, we will get to the step where we enter our domain. I added scontiamolo.com because I’m interested in creating a personalized email of type fabiano@scontiamolo.com. Continuing will open the iCloud website with further instructions for you to follow.
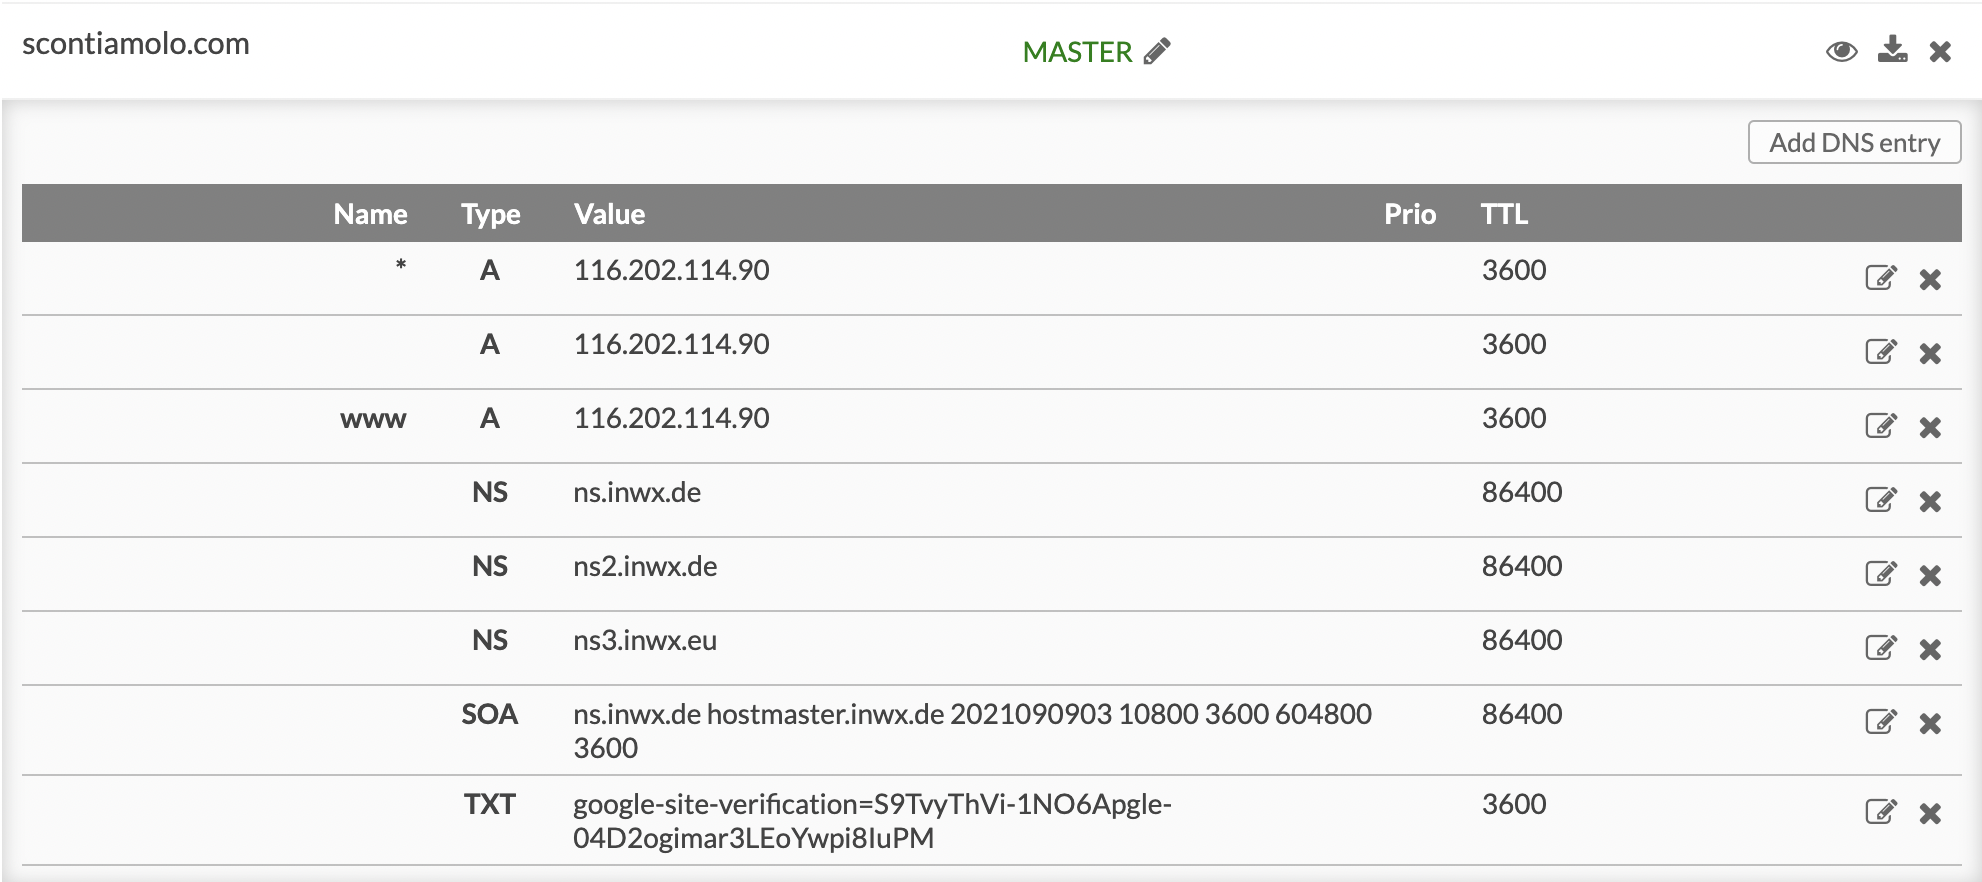
4. In Step 3 of the Apple setup, we will need to update the domain registrar settings. This is the most difficult step for those who are not familiar with these things or for those who have commissioned the purchase and creation of their site to third parties. In any case, you need to open the site from which you purchased the domain and find the Nameserver section.
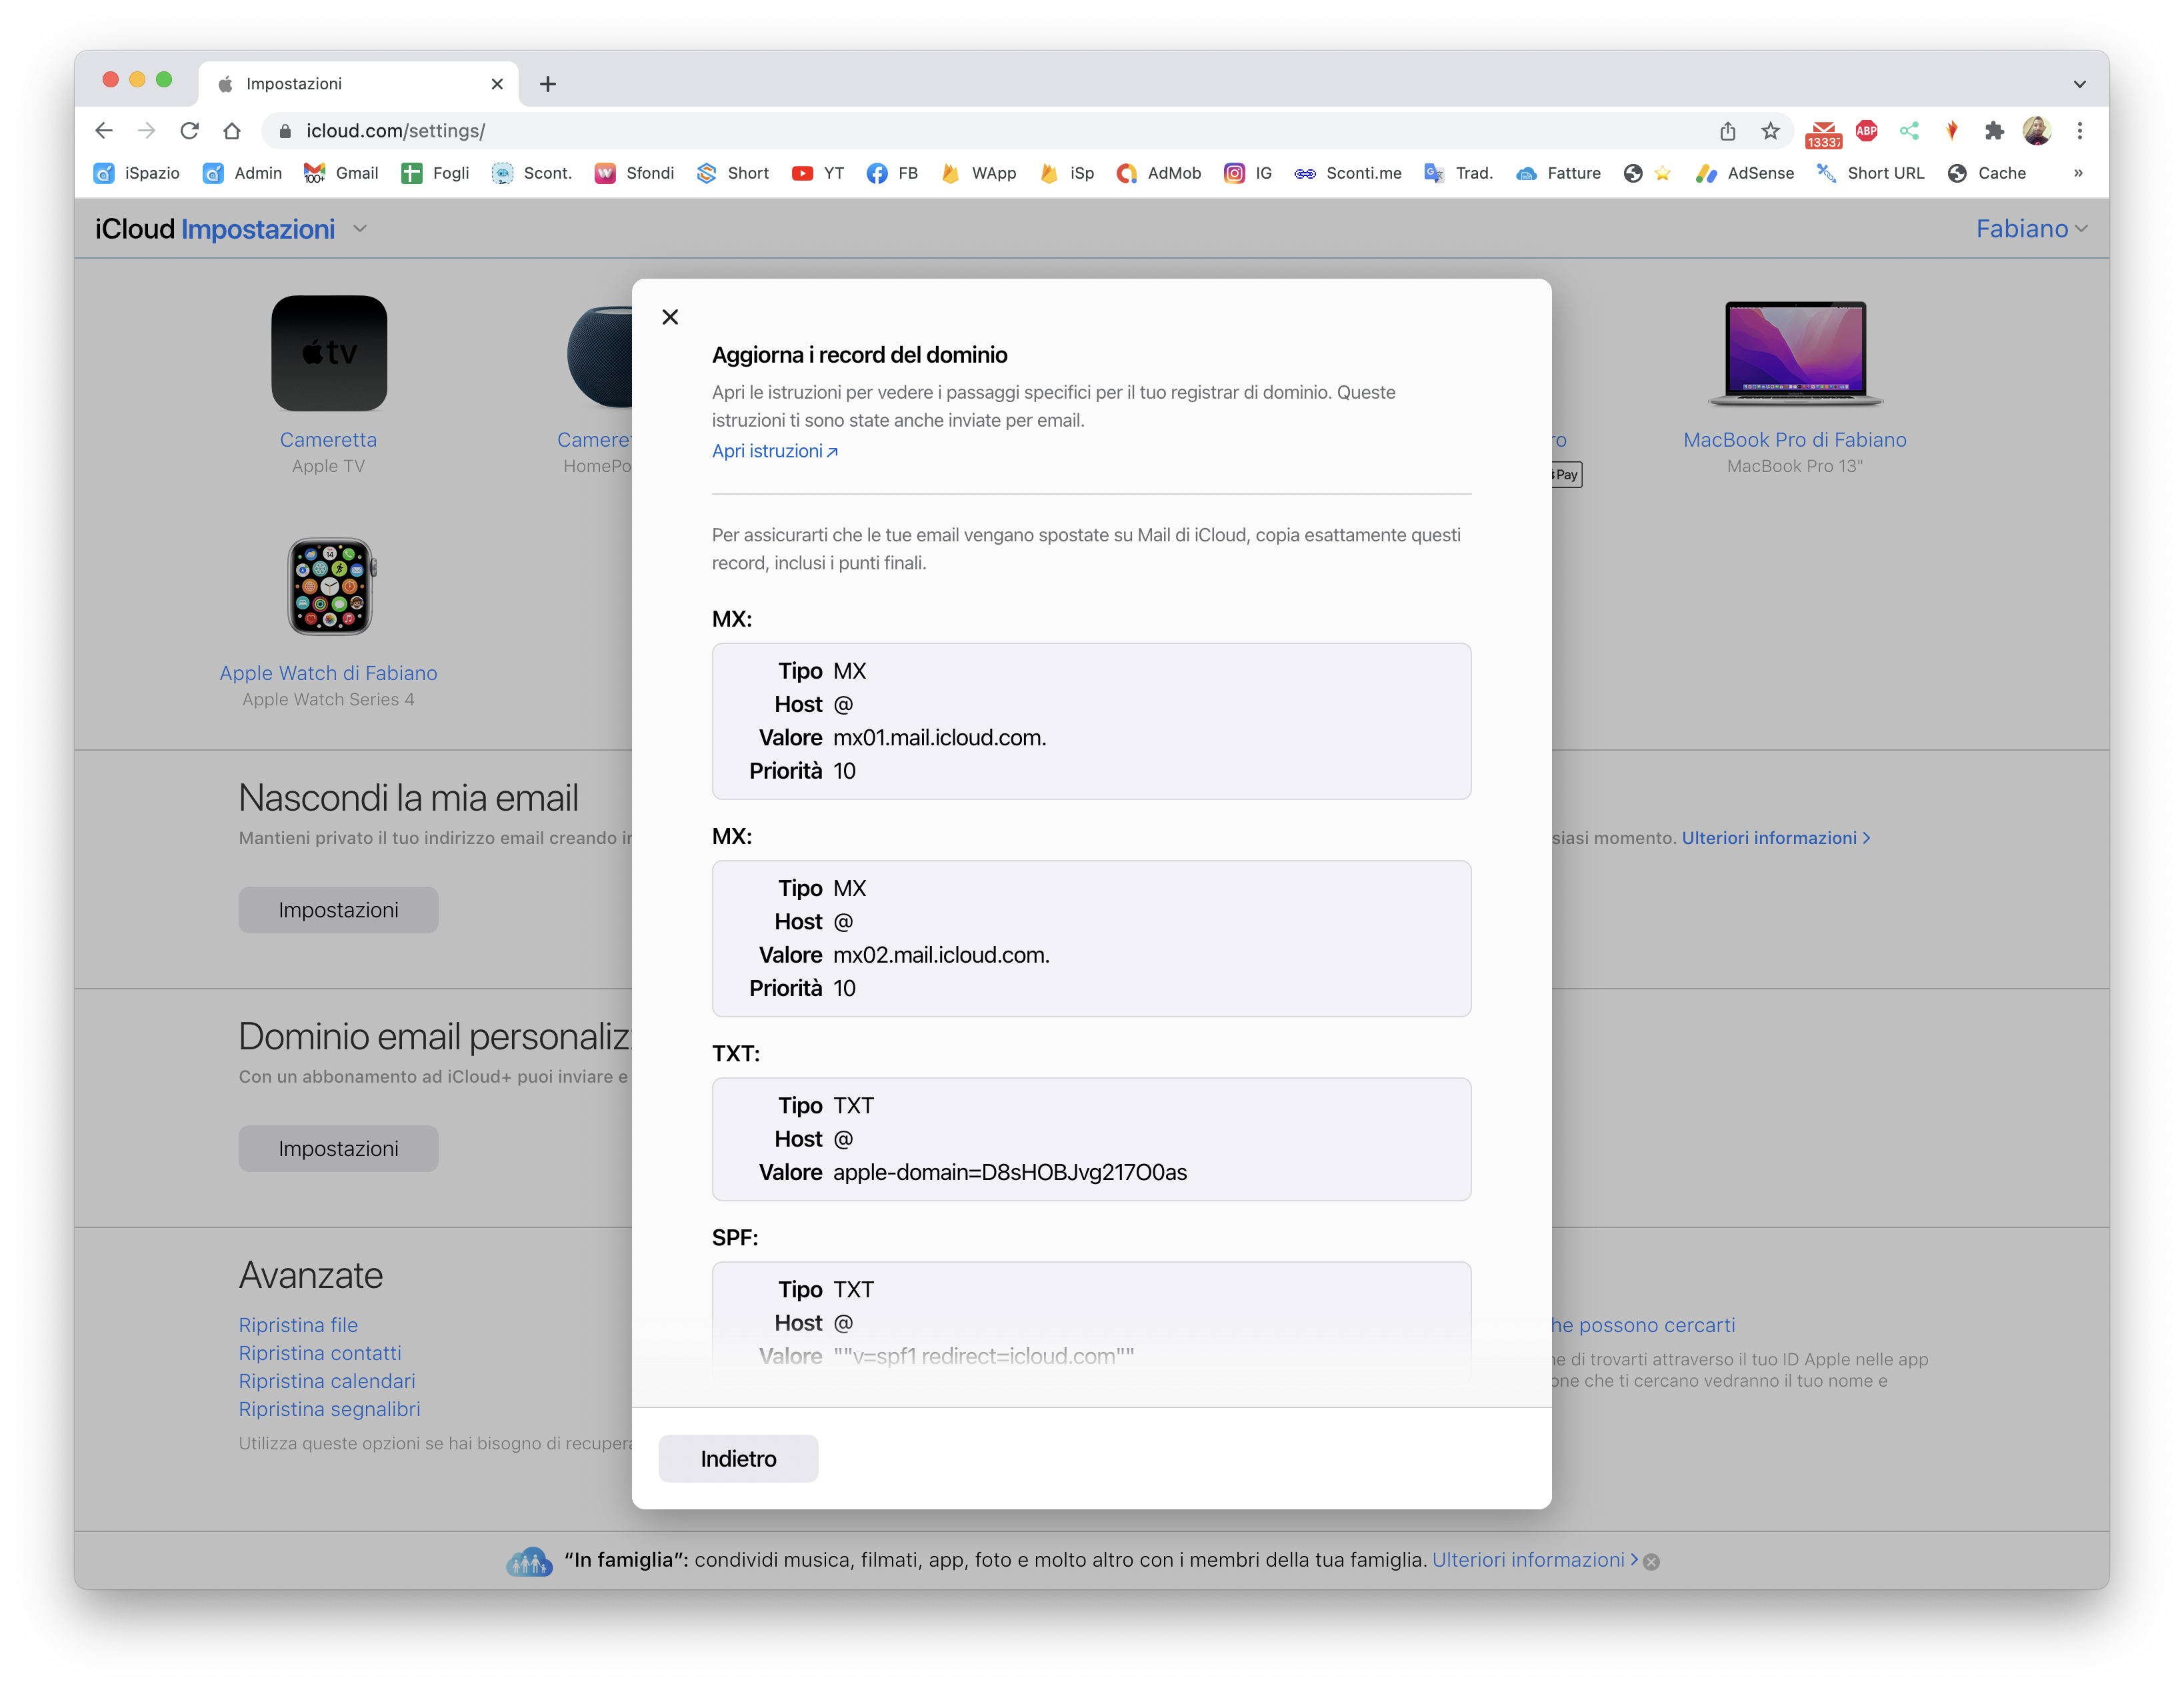
From here, you will need to add new records to the chosen domain. A screen on the iCloud website will show you everything that needs to be added or all the values that need to be changed to some existing record (such as TXT).
MX records
| Type | Hostname | Mail Server | Priority | TTL |
| MX | [il_tuo_dominio.com] | mx01.mail.icloud.com. | 10 | 3600 |
| MX | [il_tuo_dominio.com] | mx01.mail.icloud.com. | 10 | 3600 |
TXT records
| Type | Hostname | Content | Priority | TTL |
| TXT | [il_tuo_dominio.com] | enter the value provided by Apple | 10 | 3600 |
| TXT | [il_tuo_dominio.com] | v=spf1 redirect=icloud.com | 10 | 3600 |
CNAME record
| Type | Hostname | Target Name | TTL |
| CNAME | sig1._domainkey | sig1.dkim. [il_tuo_dominio.com].at.icloudmailadmin.com. | 3600 |
Once all the configuration is completed, and the verification of the correct operation, we will be able to disseminate our new personalized email address which will actually be existing and ready to use (in the case of this “fabiano@scontiamolo.com” guide).
To read all the emails received on this personalized address, all we have to do is access our existing iCloud email (or created with Step 1 of this Guide) and it is in this box that all the emails sent to us by users to the personalized address with our domain will arrive.
