A few days ago, I provided instructions on how to uninstall unwanted apps from an Android device. While this straightforward guide proved helpful to many individuals, some still found it to be overly complicated. Despite my efforts to make the method easily understandable, it seems that I fell short.
Fortunately, a user on phonetweakers suggested an intriguing solution that should be compatible with all major computer operating systems (Windows, Linux, and Mac). It’s worth noting that in my previous post, I also mentioned ADB AppControl—an exceptionally user-friendly application, albeit limited to Windows users.

universal-android-debloater-windows
Check out more:
Now, let’s delve into the Universal Android Debloater GUI application. It offers simplicity, speed, and enjoyment. Universal android debloater is a project that aims to improve phone privacy and battery performance by removing obscure system apps that are running on your device “without your permission”. It can also help improve your smartphone security.
Packages/pre-installed applications are as well documented as possible to provide a better understanding of what you can and cannot remove. The worst thing that can happen is to remove an essential system package on startup, which would cause a loop trying to start. After about 5 failed system boots, the phone will automatically reboot into recovery mode and you will need to do a factory reset. Make a backup first!
However, there is an essential prerequisite. To proceed with this process, you need to complete the first two steps outlined in the article on removing unnecessary software.
First step. You need to enable USB debugging.
To begin, you must enable debug mode on your smartphone. This can be accomplished by activating the developer features. Follow these steps:
- Access the system settings.
- Locate the “About phone” tab, typically positioned at the bottom of the menu.
- Find the “Build Number” tab, also usually located at the bottom.
- Tap on the “Build Number” option seven times until a notification appears, indicating that you have become a developer.
Next, return to the main settings:
- Look for the “System” tab.
- Select “Advanced.”
- Click on “Developer Options.”
- Enable “USB Debugging.”
By enabling USB debugging, your smartphone will be visible at the ADB level. This feature may prove useful for future operations, not only limited to removing unnecessary software from Android. However, that is a topic for another day.
Step two. ADB software download.
Next, you need to download and install ADB on Your System. You can check out our comprehensive guide on How to Install ADB, Fastboot and Google USB Driver on Windows, Mac and Linux in 15 Seconds Here.
If you want to perform operations on an Android device, root an Android, delete pre-installed Apps on device (obtain administrator rights) or flash an alternative ROM, it is necessary to install the ADB and Fastboot tools on Windows, as well as the Google USB driver necessary for the Android device recognition.
How to Download and run Universal Android Debloater GUI for windows and Linux
First go to the official Github page to download the software program tool you can find it here: Download UAD all relesesLatest version from Github
Latest versions 0.5.1:
Download for windows opengl version
For linux users:
Download the latest version of the GUI “named uad_gui-linux.tar.gz ” by going to Software “releases” (on GitHub) .
Take the version suffixed by “opengl” only if the uad_gui-linux.tar.gz version does not launch.
Extract the contents of the archive to have the executable.
List of supported smartphone manufacturers:
- Asus
- LG
- Huawei
- Motorola
- Nokia
- OnePlus
- Oppo
- Samsung
- Sony
- Xiaomi
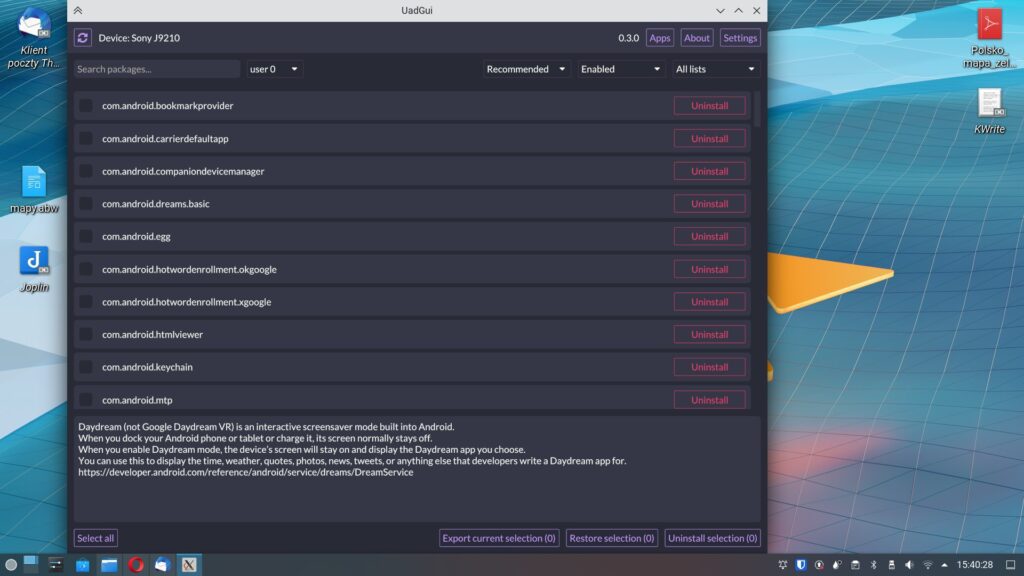
- Once you have completed the aforementioned steps, connected your smartphone to the computer, and launched the program. For Linux users Launch the software after extracting it from the tar.gz archive . You will be presented with a list of applications you want to remove.
- If you have successfully enabled debugging of your phone via USB , you will be able to see that the software will instantly pick up your phone and list the software/packages installed on your phone.
- Each package is identified with a not very readable format (example: com.mi.android.globalminusscreen ) which is not easy to understand (this is nevertheless the way used to identify them).
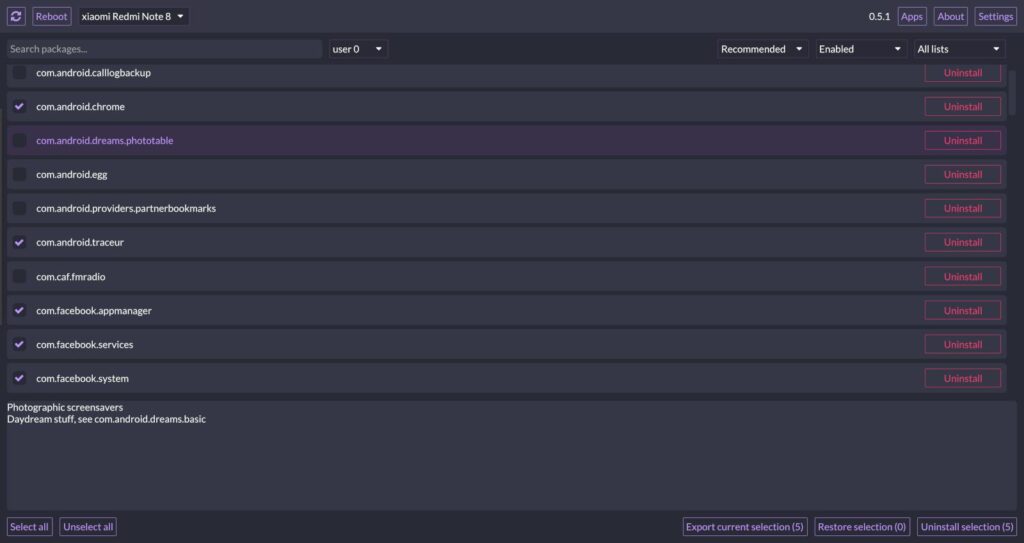
- Fortunately a description of the package is displayed below the list.
- The descriptions are in English and are provided by the community with sometimes a link to indicate its source.
Deactivation safety category
Each installed package/software has a safety category which relates to the impact of disabling on your system:
- Recommended : Not very useful or harmful for your privacy. And/or applications from the Play Store.
- Advanced ❗ : Could break a minor part of the system. This category is also used to list useful applications (keyboard, gallery, desktop, music player, etc.), however, they are replaceable by alternatives.
- Expert ❗ : Disabling these packages may break important functionality of your system.
Unsafe/Dangerous ❗ : Vital package for your system. Could cause your phone to be restored to factory state and thus permanent loss of your data stored on your phone . This is why it is a question of backing up your photos, contacts, before using this software
Apps tab

uad-gui-screen (1)
The main page of the application is the list of packages which shouldn’t cause any concern/issues if removed (Category Recommended ).
Settings tab
A parameter may seem interesting to you, the “Clear and disable package instead of uninstalling them”. As its wording suggests, you can disable them rather than uninstall them.
