In a previous article, we saw that on Macs with Apple Silicon processors, it is possible to achieve a clean installation of the operating system with a very simple and very fast procedure. Just click on Erase All Content and Settings to get a “as you just bought” computer.
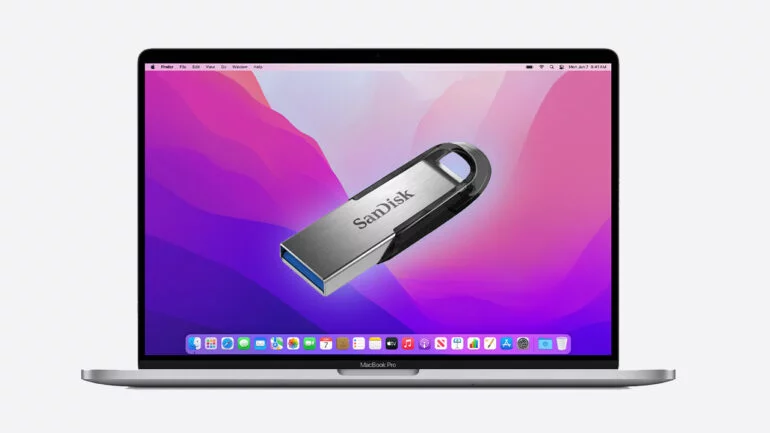
In this article, however, we are going to see the procedure necessary for the creation of a USB stick that contains bootable macOS Monterey and that allows you to install this operating system after completely initializing the disk by erasing everything inside it, including the previous operating system.
How to cleanly install macOS Monterey from a USB stick
This alternative system allows you to get a clean install of macOS Monterey and works on both Intel and Apple Silicon computers. The procedure is longer and a little more complex than the previous one, but if you follow all the instructions to the letter, you shouldn’t have any difficulties.
What you need is a USB stick of at least 16GB. If you use a 32GB one, it’s better.
-
-
 Sandisk Ultra Flair 32 GB, USB 3.0 Flash Drive, Read Speed up to 150 MB/s, Black18.99€9.99€
 -
 Sandisk Ultra Flair 64 GB, USB 3.0 Flash Drive, Read Speed up to 150 MB/s, Black32,99€ incl.12,49€ incl.
 -
 Sandisk Ultra Dual USB-C 64GB, USB 3.1 Type C, Black/Silver37.99€ incl.15,50€ incl.
-
With this procedure we are going to create a bootable installer that will allow us to install macOS Monterey directly from the flash drive. It is a system that does not even require the availability of an internet connection except for the initial download phase.
1. Download macOS Monterey from the Mac App Store:
2. When the download is complete, the installation screen will automatically open.
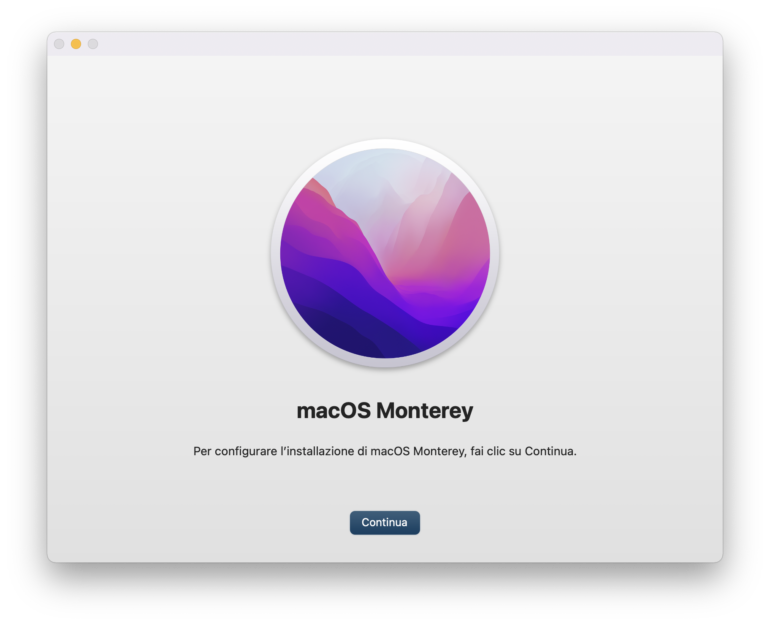
You’ll need to close it by right-clicking on the icon on the Dock and choosing “Exit”. The installer you just downloaded will have been stored in your Mac’s Applications folder.
3. Now, connect a USB flash drive to your computer. Before proceeding, it is advisable to format the flash drive, so let’s open Applications > Utilities > Disk Utility. Let’s position ourselves on the name of the pen (which in my case is “NO NAME”.
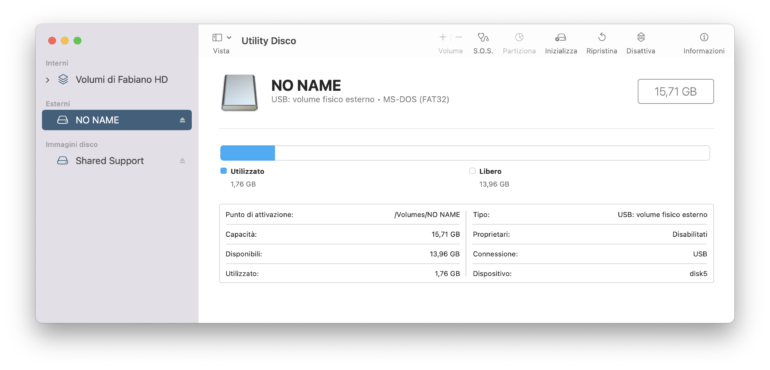
As you can see, it’s a 16GB flash drive and is currently formatted in MS-DOS (FAT32). This format is wrong for the macOS executable so we click on the Initialize button, enter something easy to rewrite as the name, for example “MAC” and choose Mac OS extended (journaled) as the format.
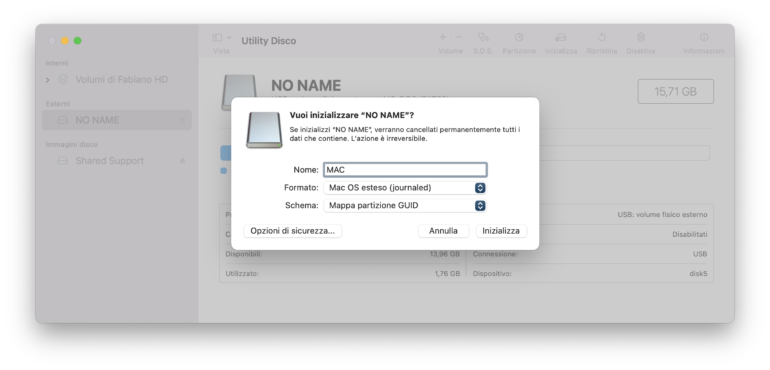
4. After a few seconds, our pen will be ready, will have a new name and will be formatted in the right format. We can proceed!
5. Open Applications > Utilities > Terminal and use the “createinstallmedia” command to create the bootable installer on the stick. Type or paste this command into the terminal, but be careful to enter the name of your flash drive where I entered the name “MAC“. If you have also formatted the USB stick with the same name, then you can copy and paste the string in full:
sudo /Applications/Install\ macOS\ Monterey.app/Contents/Resources/createinstallmedia --volume /Volumes/MAC
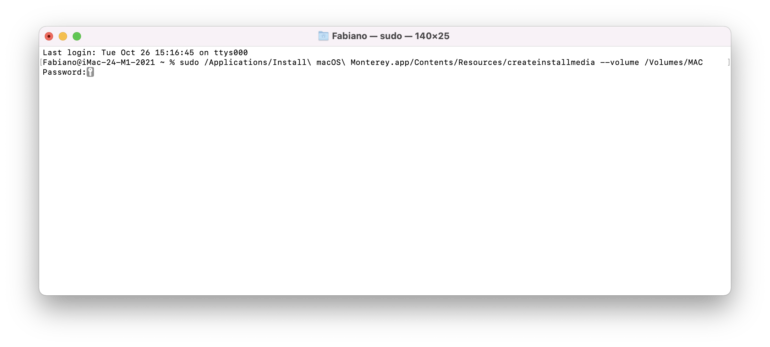
Pressing enter will prompt you for your system password. Enter it even if you don’t see the words appear as you type them, then press the Enter key again. The terminal will tell you that you need to delete all the contents from the flash drive in order to proceed and even if you have already done this, type the letter “Y” to continue, followed by Enter.
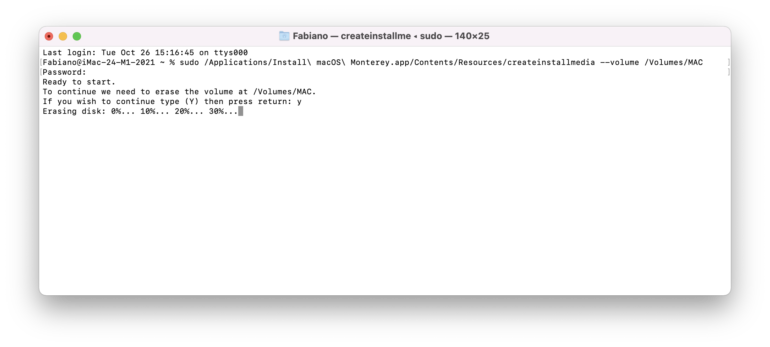
Immediately afterwards the words Making disk bootable… which will be followed by the words Copying boot files… This process will take several minutes, it may take up to an hour depending on the writing speed of the connected flash drive. Do not interrupt the process until “Install media now available at “/Volumes/Install macOS Monterey” appears on the terminal
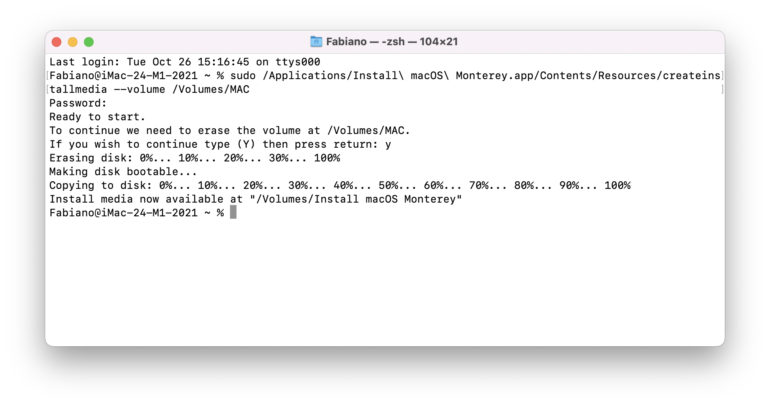
6. The most tedious part is over. Now we have a USB stick that we can plug into any computer to install macOS Monterey directly. So let’s see how to proceed.
On computers with Apple silicon
-
-
- Connect the bootable flash drive to an Internet-connected Mac with an M1, M1 Pro, or M1 Max processor.
- Turn on your Mac and continue to hold down the power button until you see the startup options window, which shows the startup volumes.
- Select the volume containing the bootable installer, then click Continue.
- When the macOS installer opens, follow the on-screen instructions.
-
On Intel-based computers
-
-
- Connect the bootable flash drive to a Mac connected to the internet and compatible with the macOS Monterey version (here is the list). Turn off the computer.
- Turn on your computer and hold down the Option (Alt) ⌥ key immediately after turning on your Mac.
- Release the Option key when you see a black screen showing the boot volumes.
- Select Disk Utility and erase your computer’s disk. This will erase any data on it including files, documents, photos, and even the operating system you are using.
- After completing this operation, select the bootable USB stick. Then click the up arrow or press Enter.
If you are unable to boot from the bootable installer, make sure that the External Boot setting in Startup Security Utility is set to allow booting from external media. - Choose your language, if prompted.
- Select macOS Setup from the Utilities window, then click Continue and follow the on-screen instructions.
-
When you’re done, you’ll have a virtually new computer with macOS Monterey installed and set up for the first time.
