Apple has just released a new update for HomePod Mini and given the recent commercialization of the product on the Italian territory, many people may not know how to update the device.
By default, both HomePod and HomePod mini automatically install new software updates, but you can manually check for an update and force it through the Home app on your iPhone, iPod Touch, iPad, or Mac.
Do this and make sure that the HomePod is plugged in and powered at all times. It is important not to interrupt the update for any reason while it is in progress.
Guide: How to Update HomePod Mini
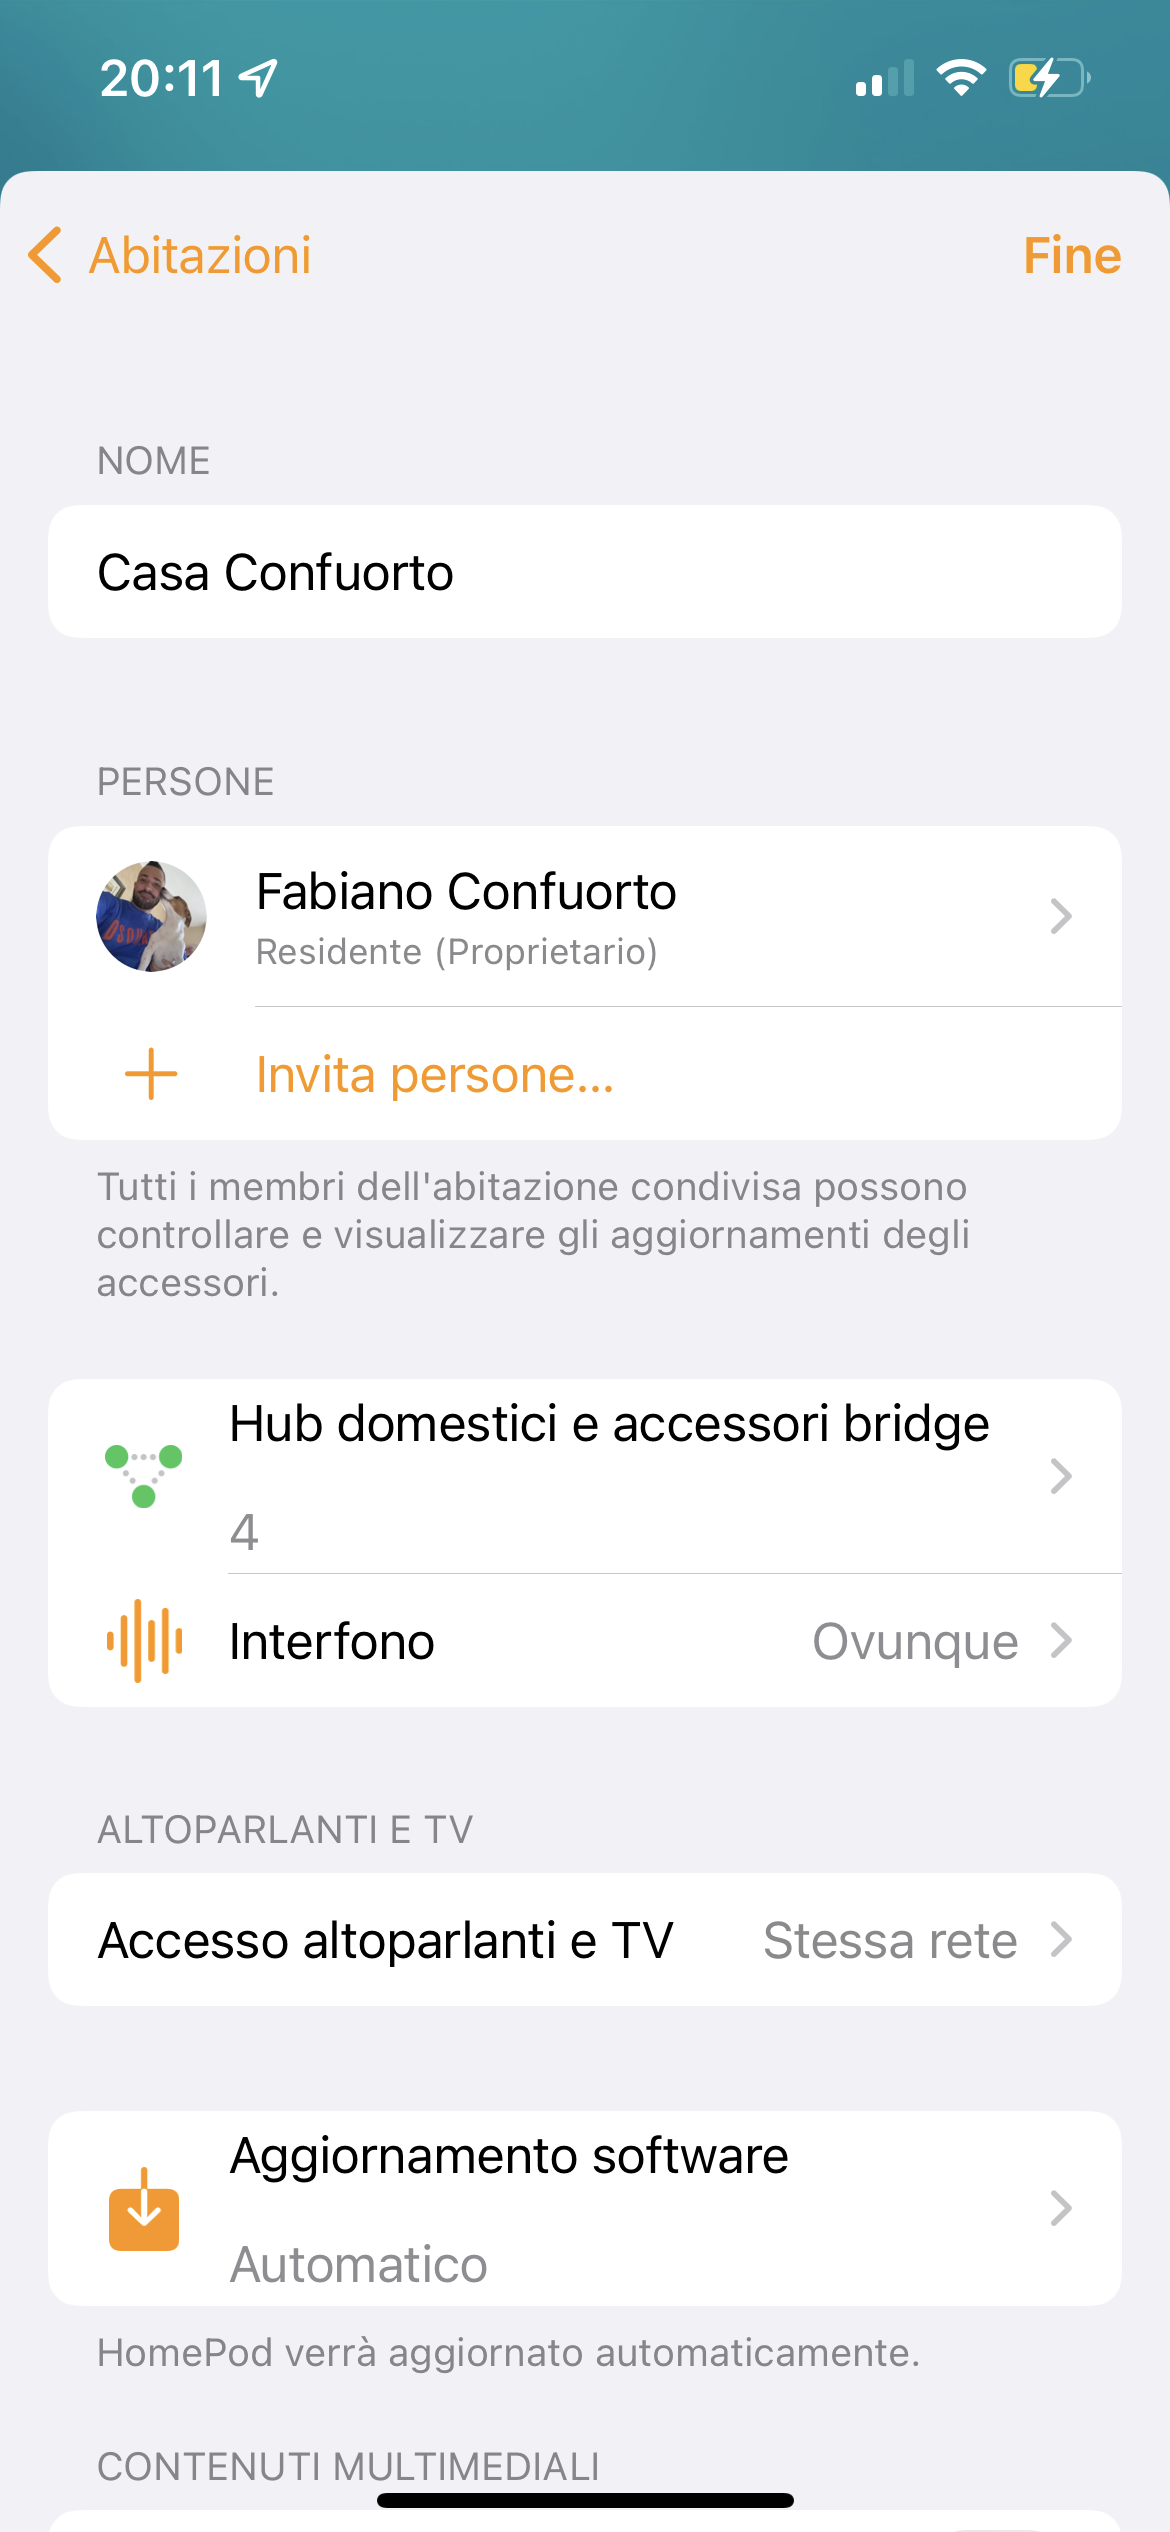
1. Using another Apple device, enter the Home app. Click on the house icon in the top left corner and then on “Home settings”
2. Scroll down the list until you find the item “Software Update” and enter this section.
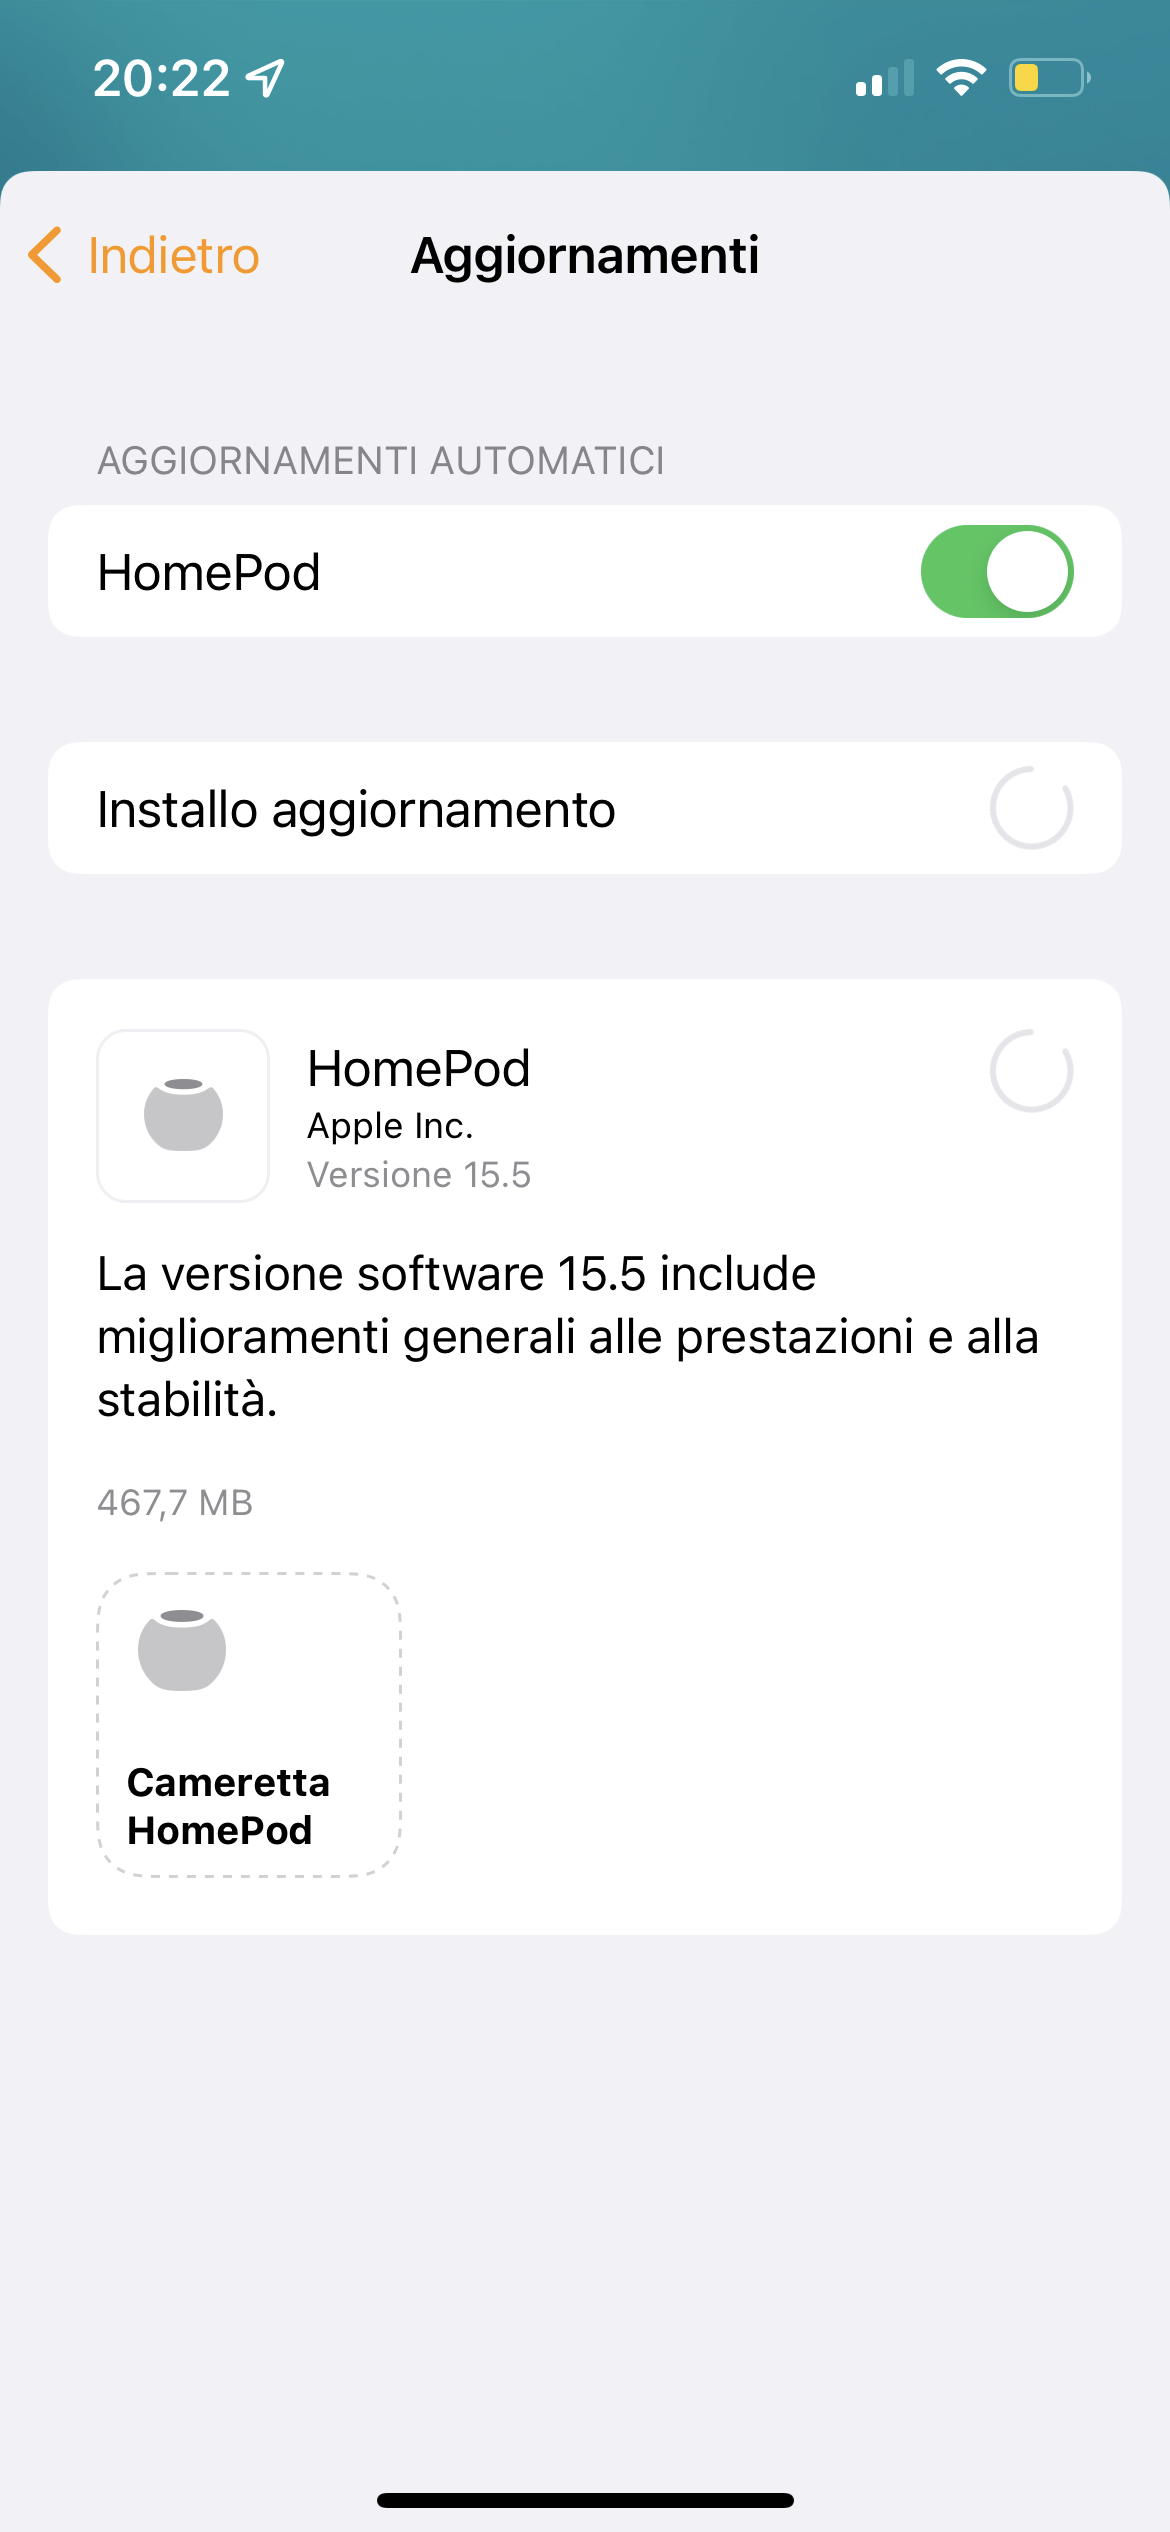
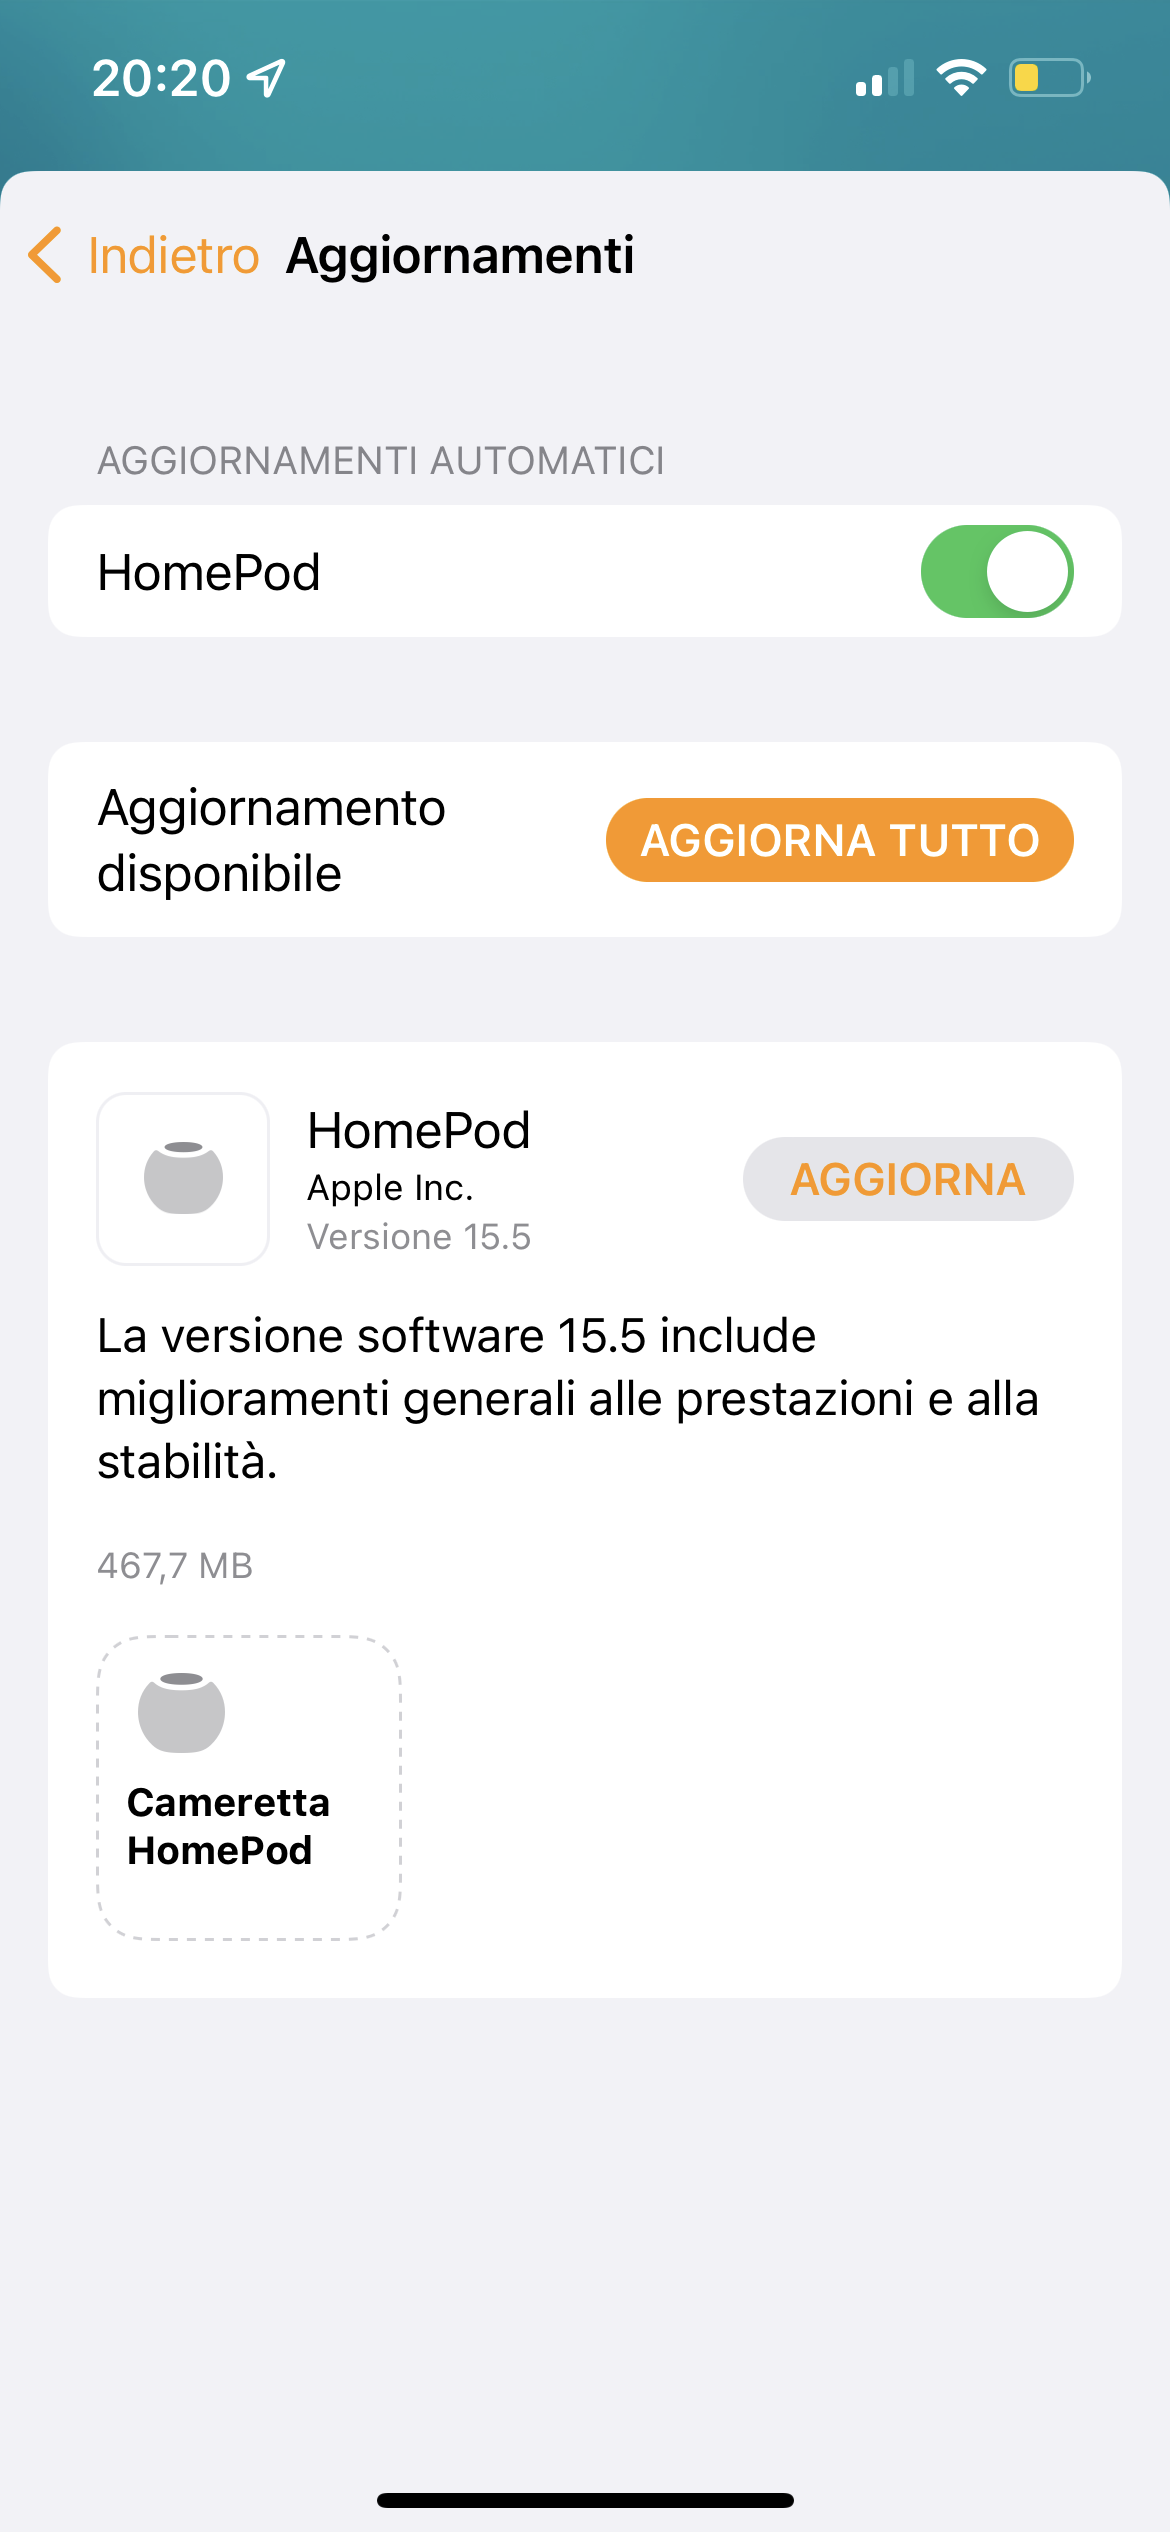
3. If the toggle at the top is on, it means that HomePod has been set to automatically update the software, however, from the same screen you can force it to check for new firmware and, of course, also to start the update. It is from this section that you can also read what are the latest news included in the firmware, as we show you in the screenshots below:


 <img class="size-large alignnone lazy" src="data:;base64,” data-src=”https://www.ispazio.net/wp-content/uploads/2022/05/IMG_3622.png” />
During the actual update, a white glowing circle will appear on HomePod and begin to rotate. Do not interrupt the operation and when the process is finished, the light will stop.
